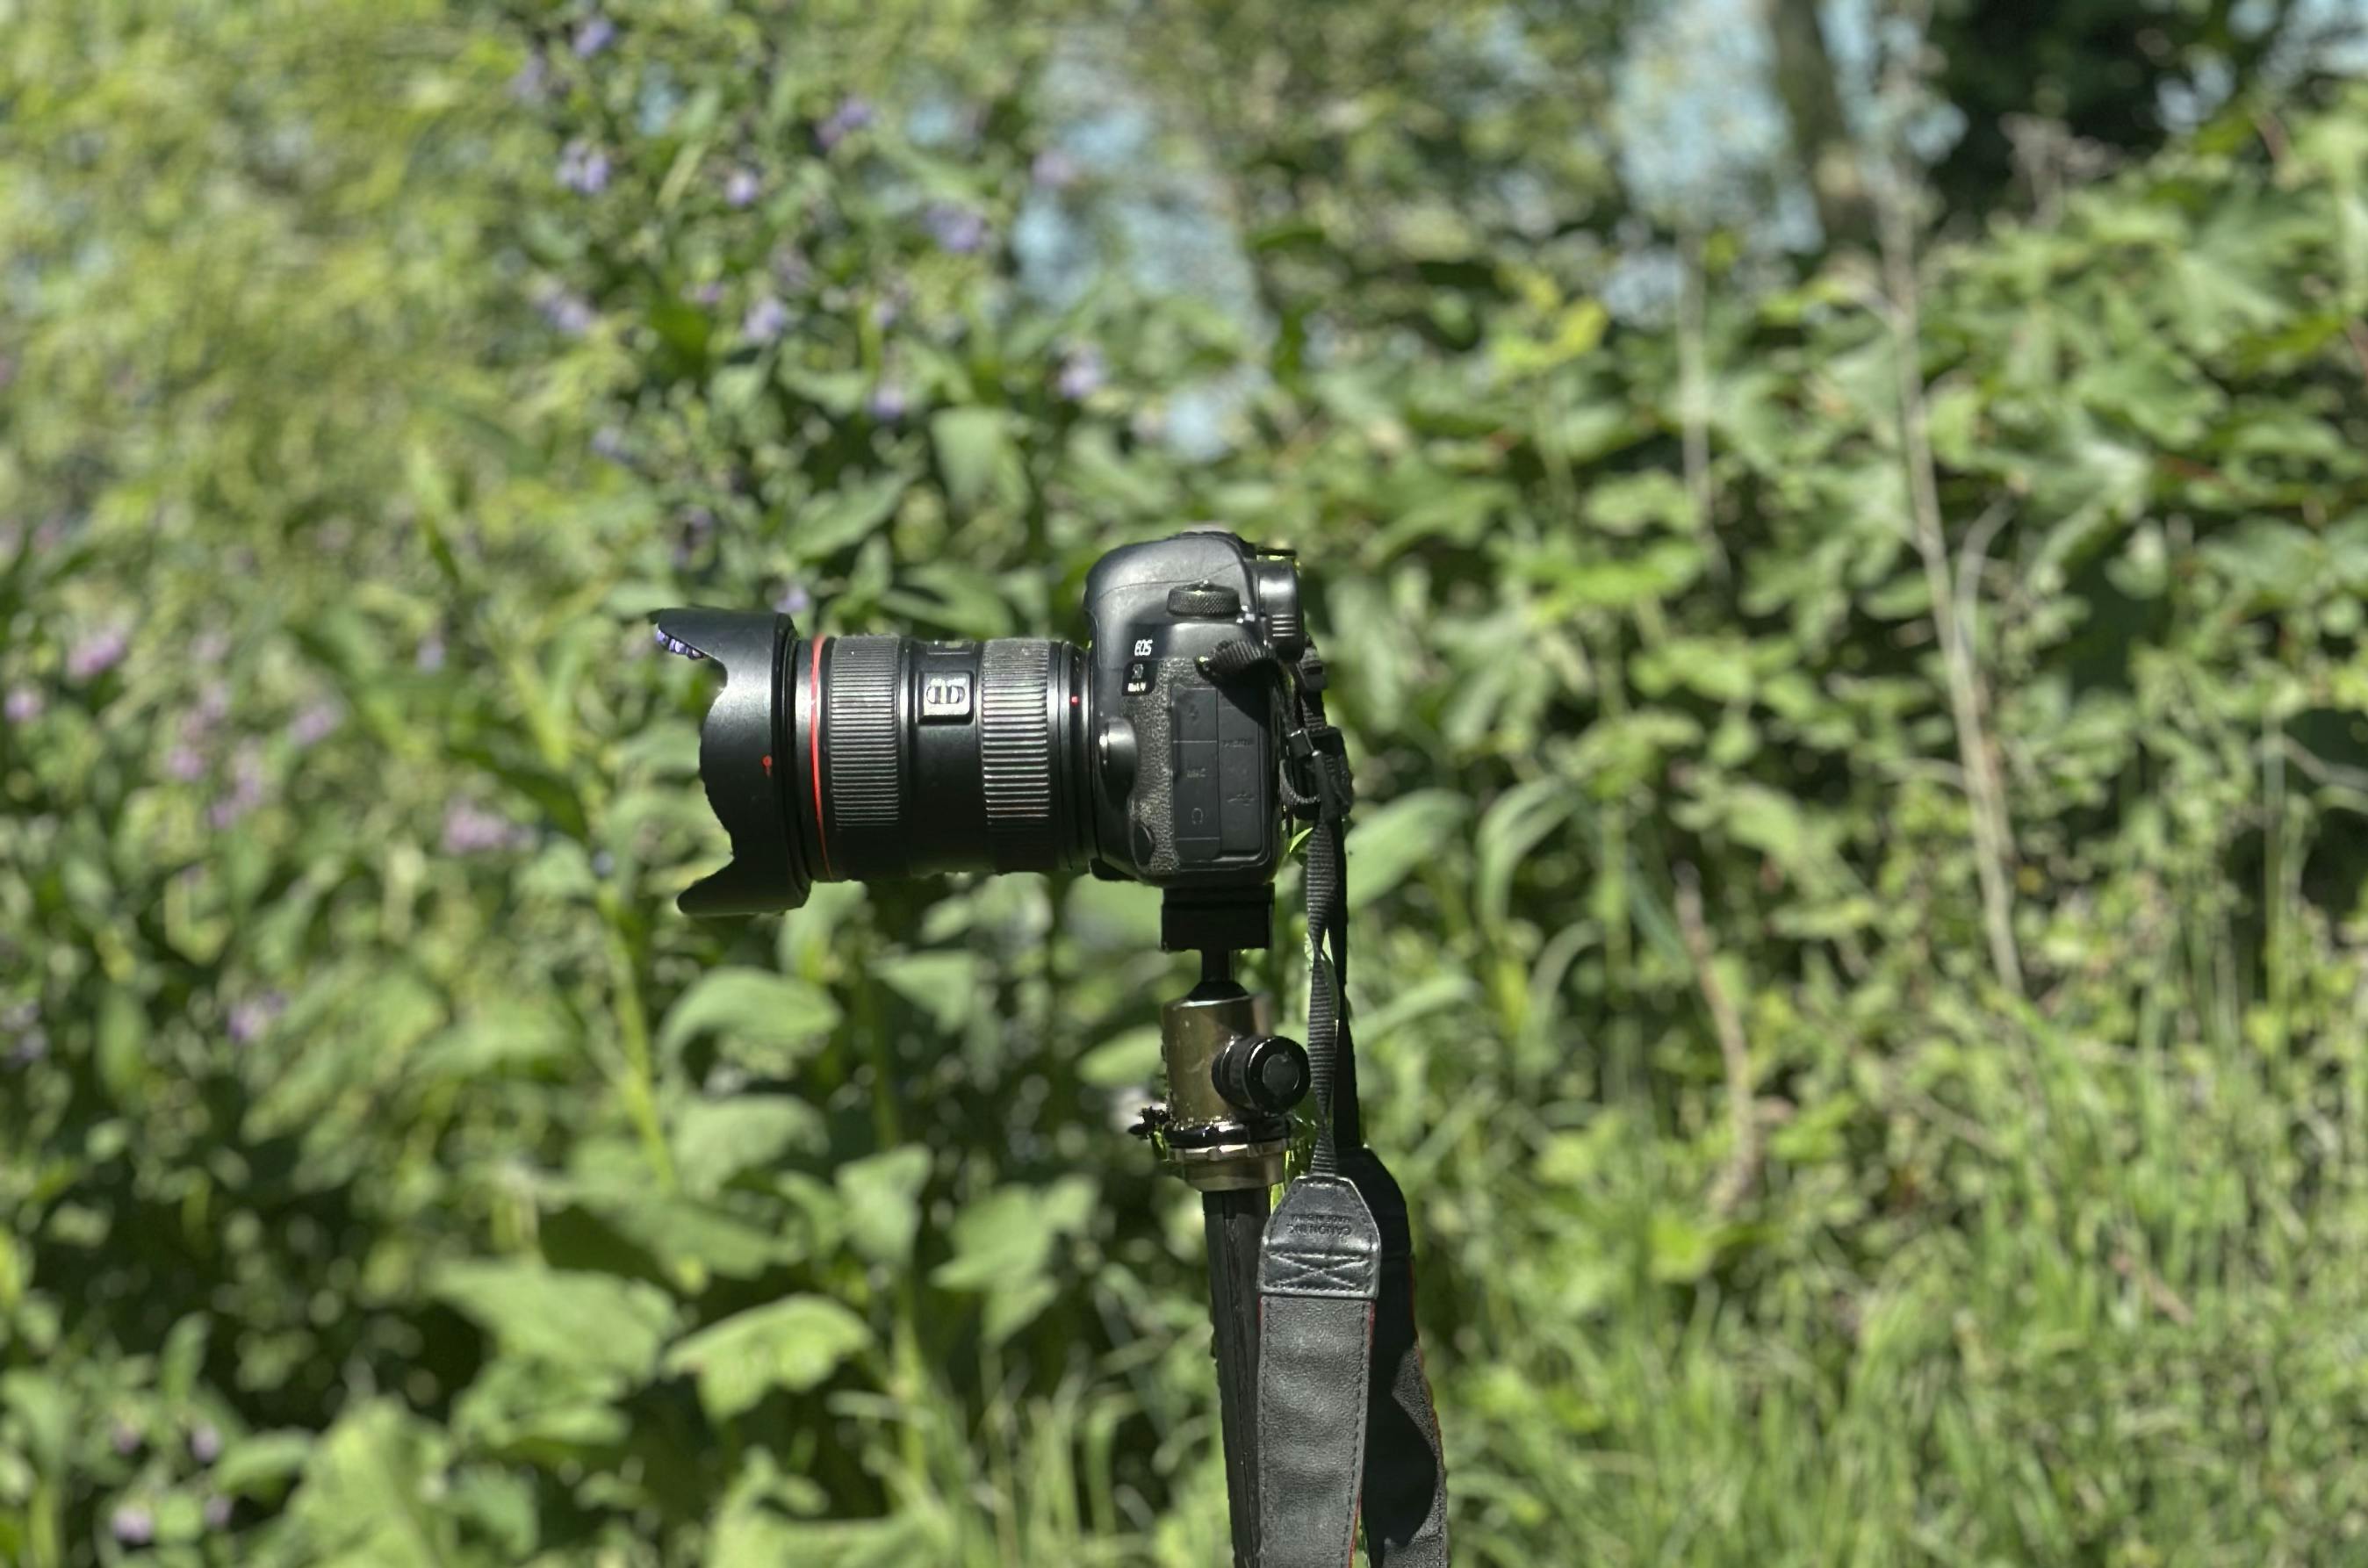
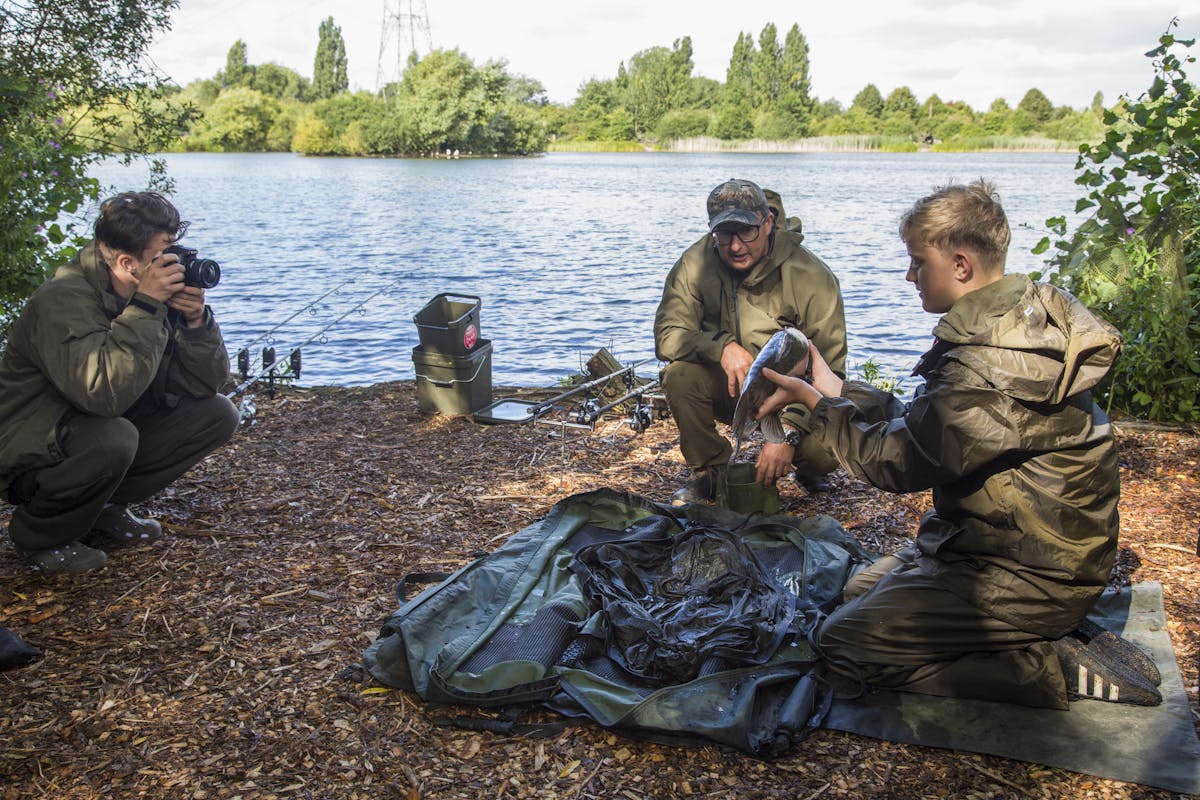
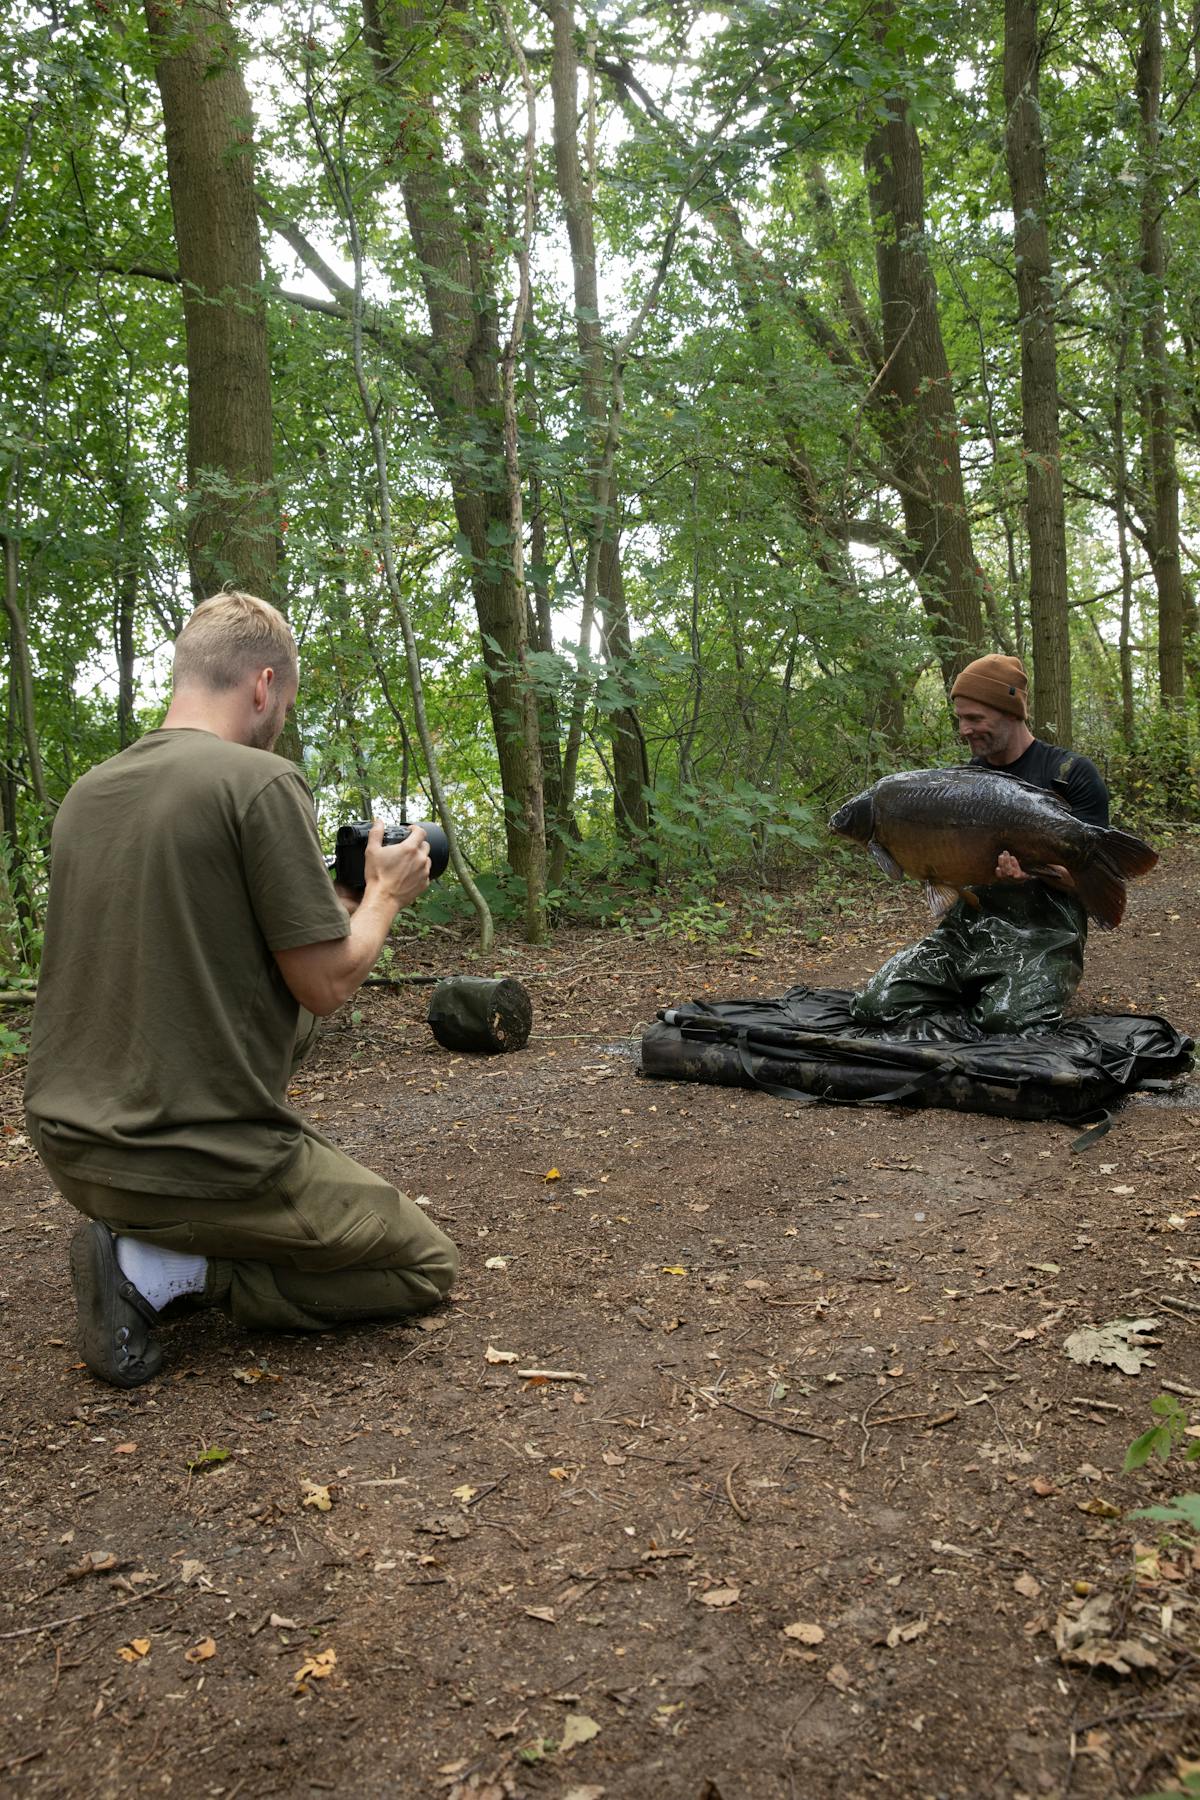
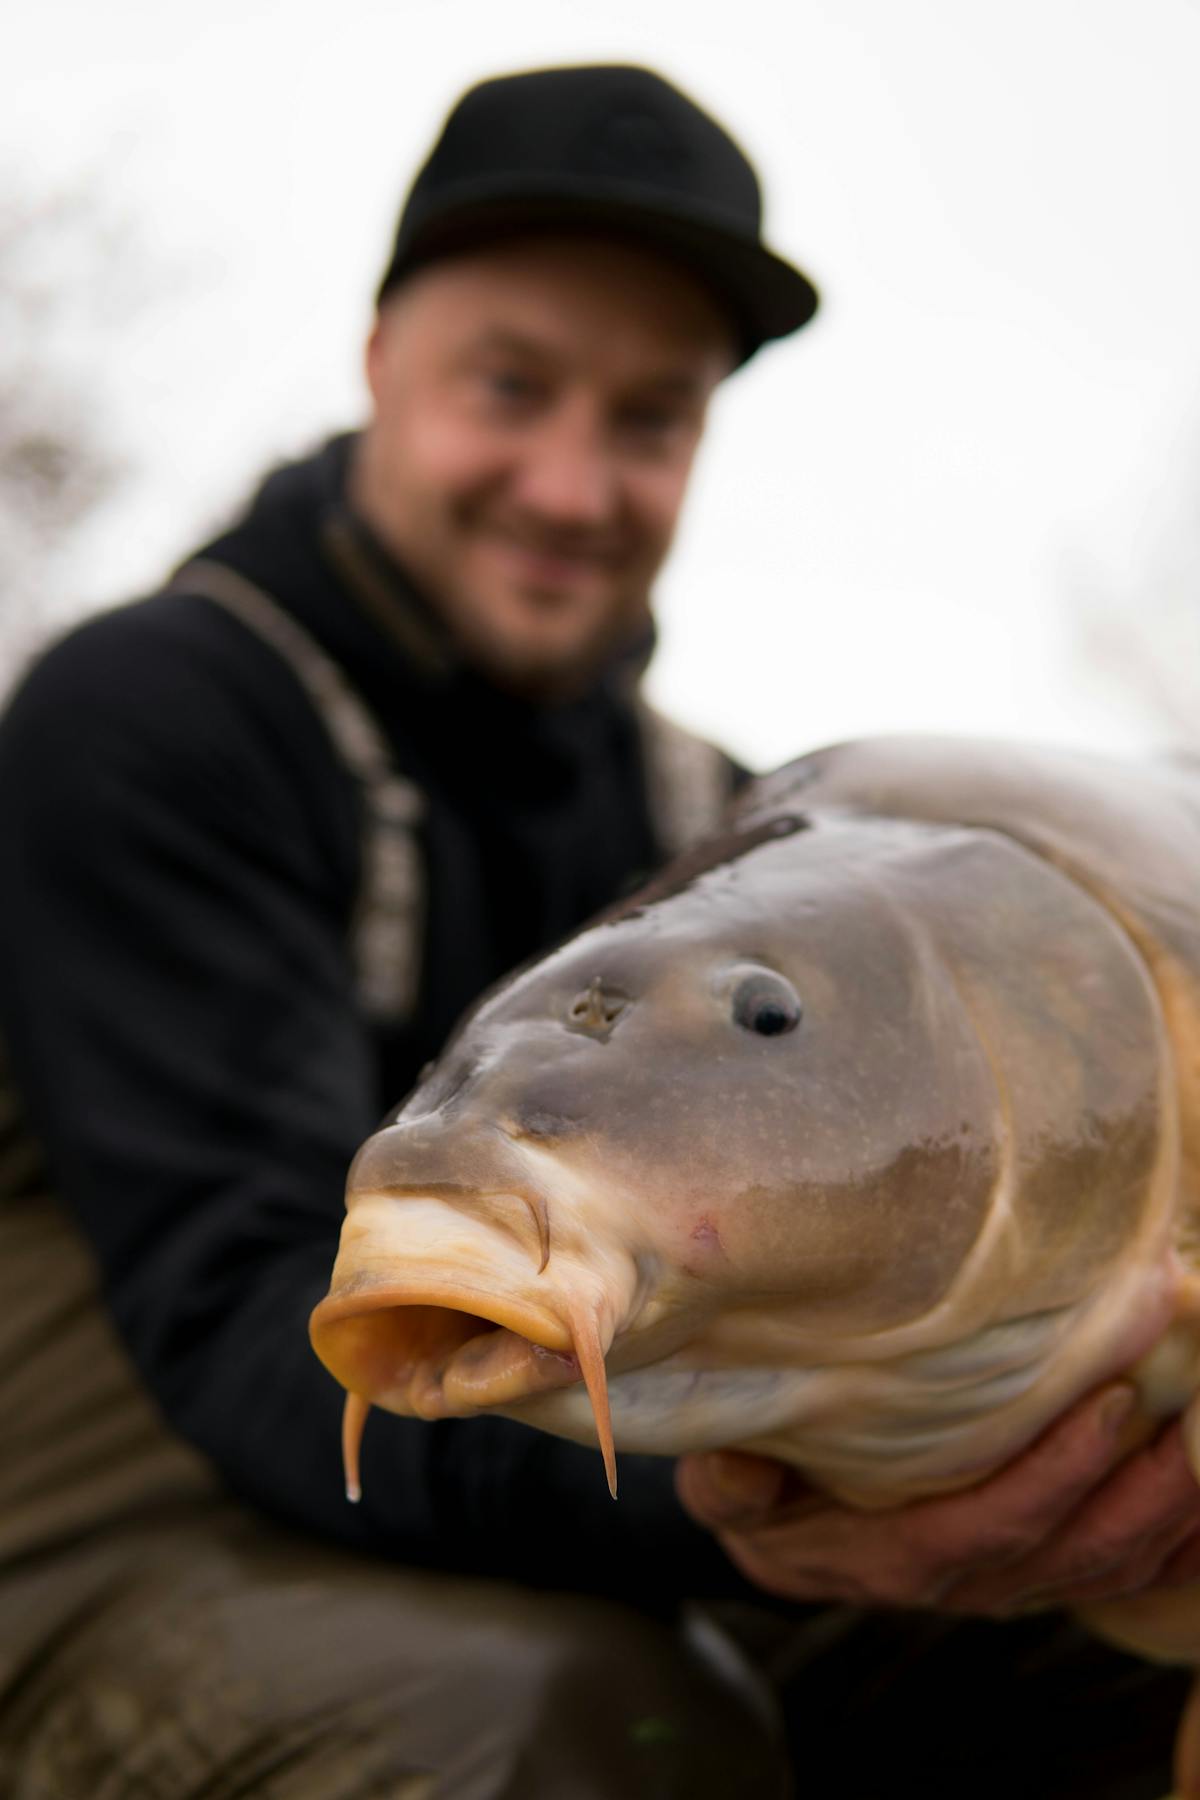
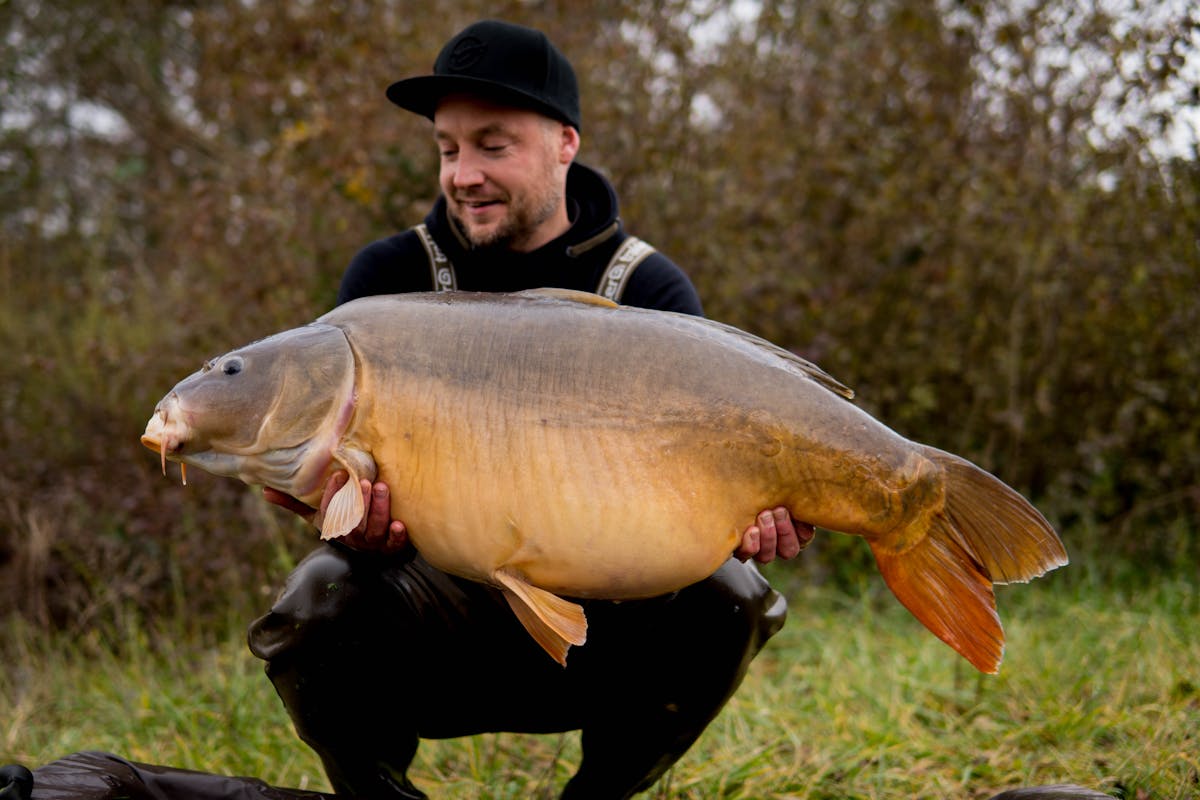
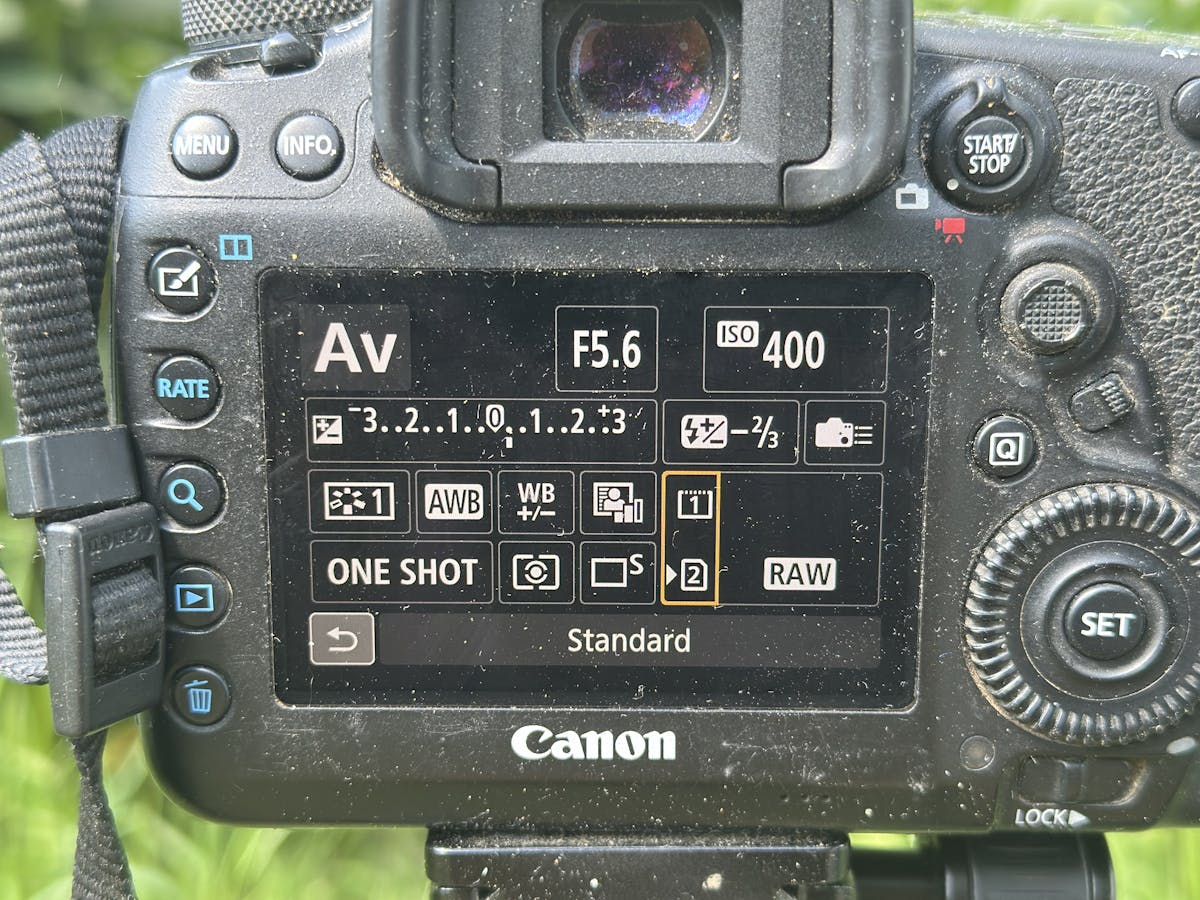
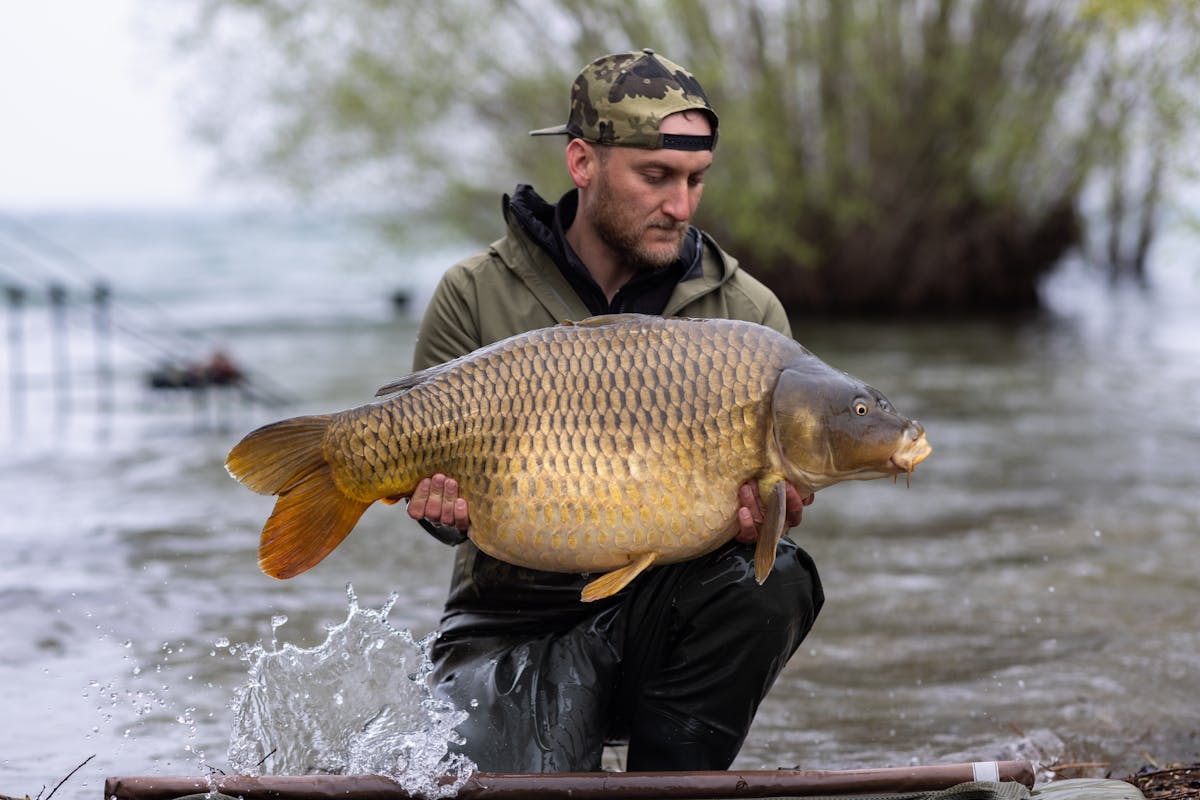
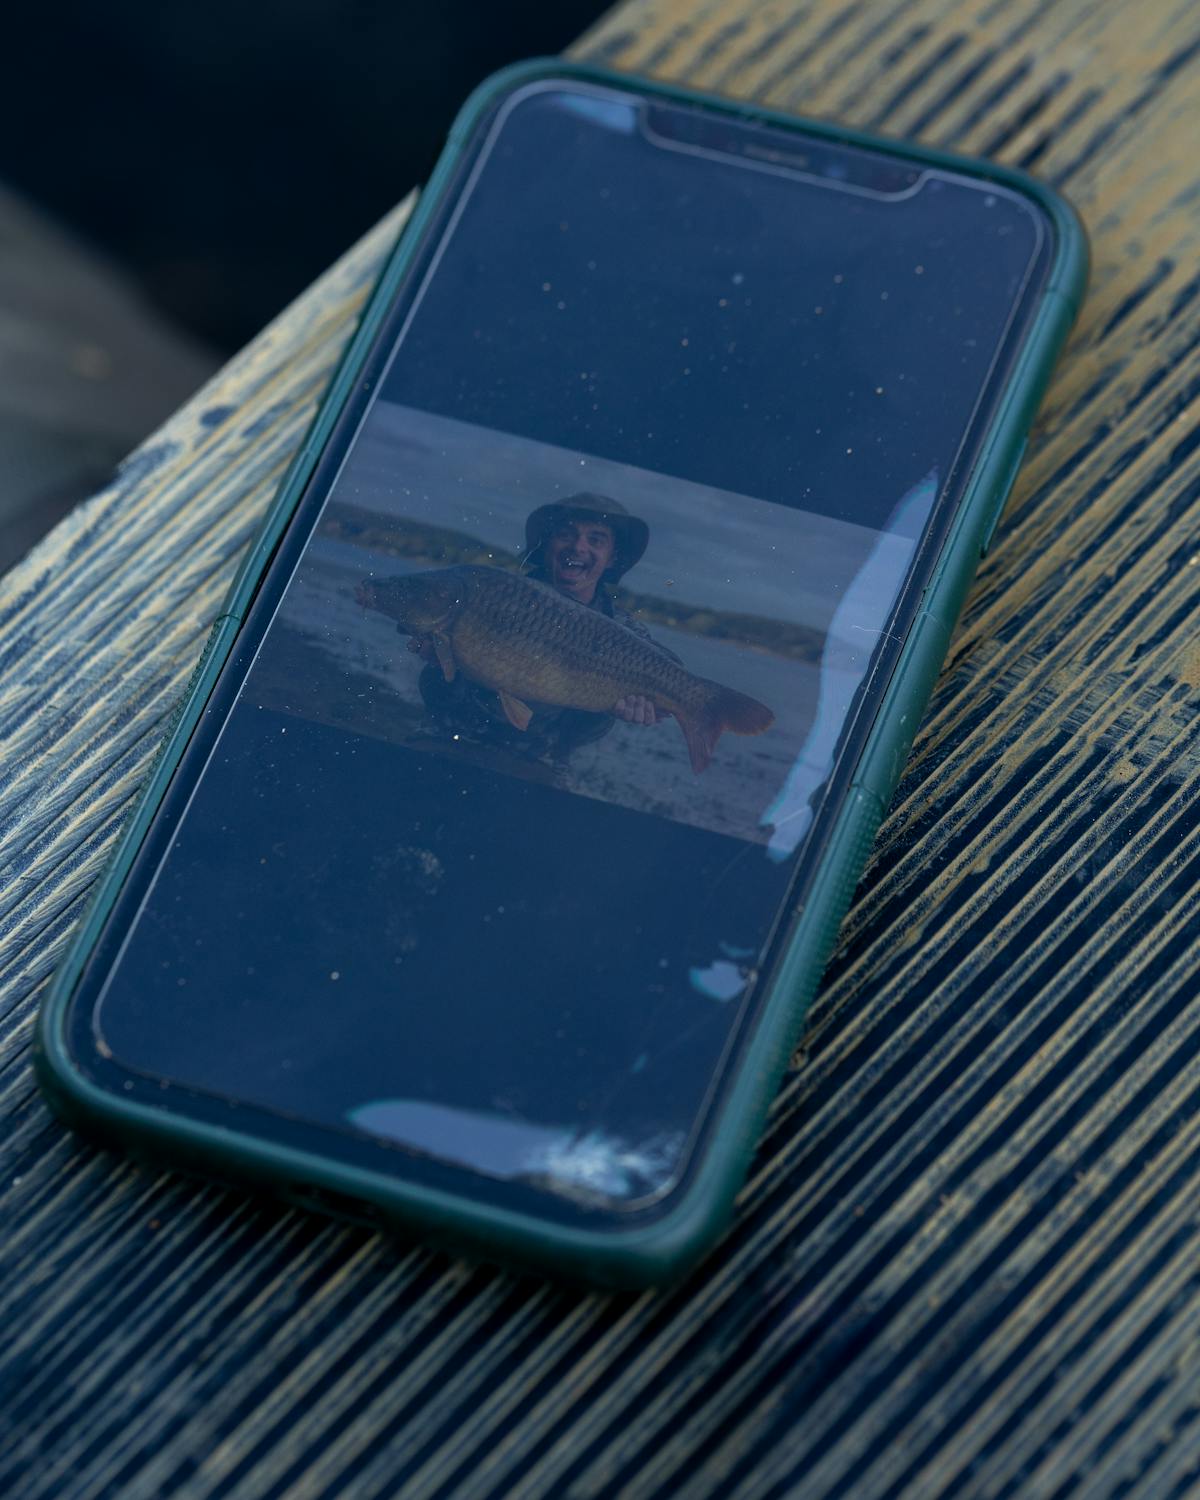
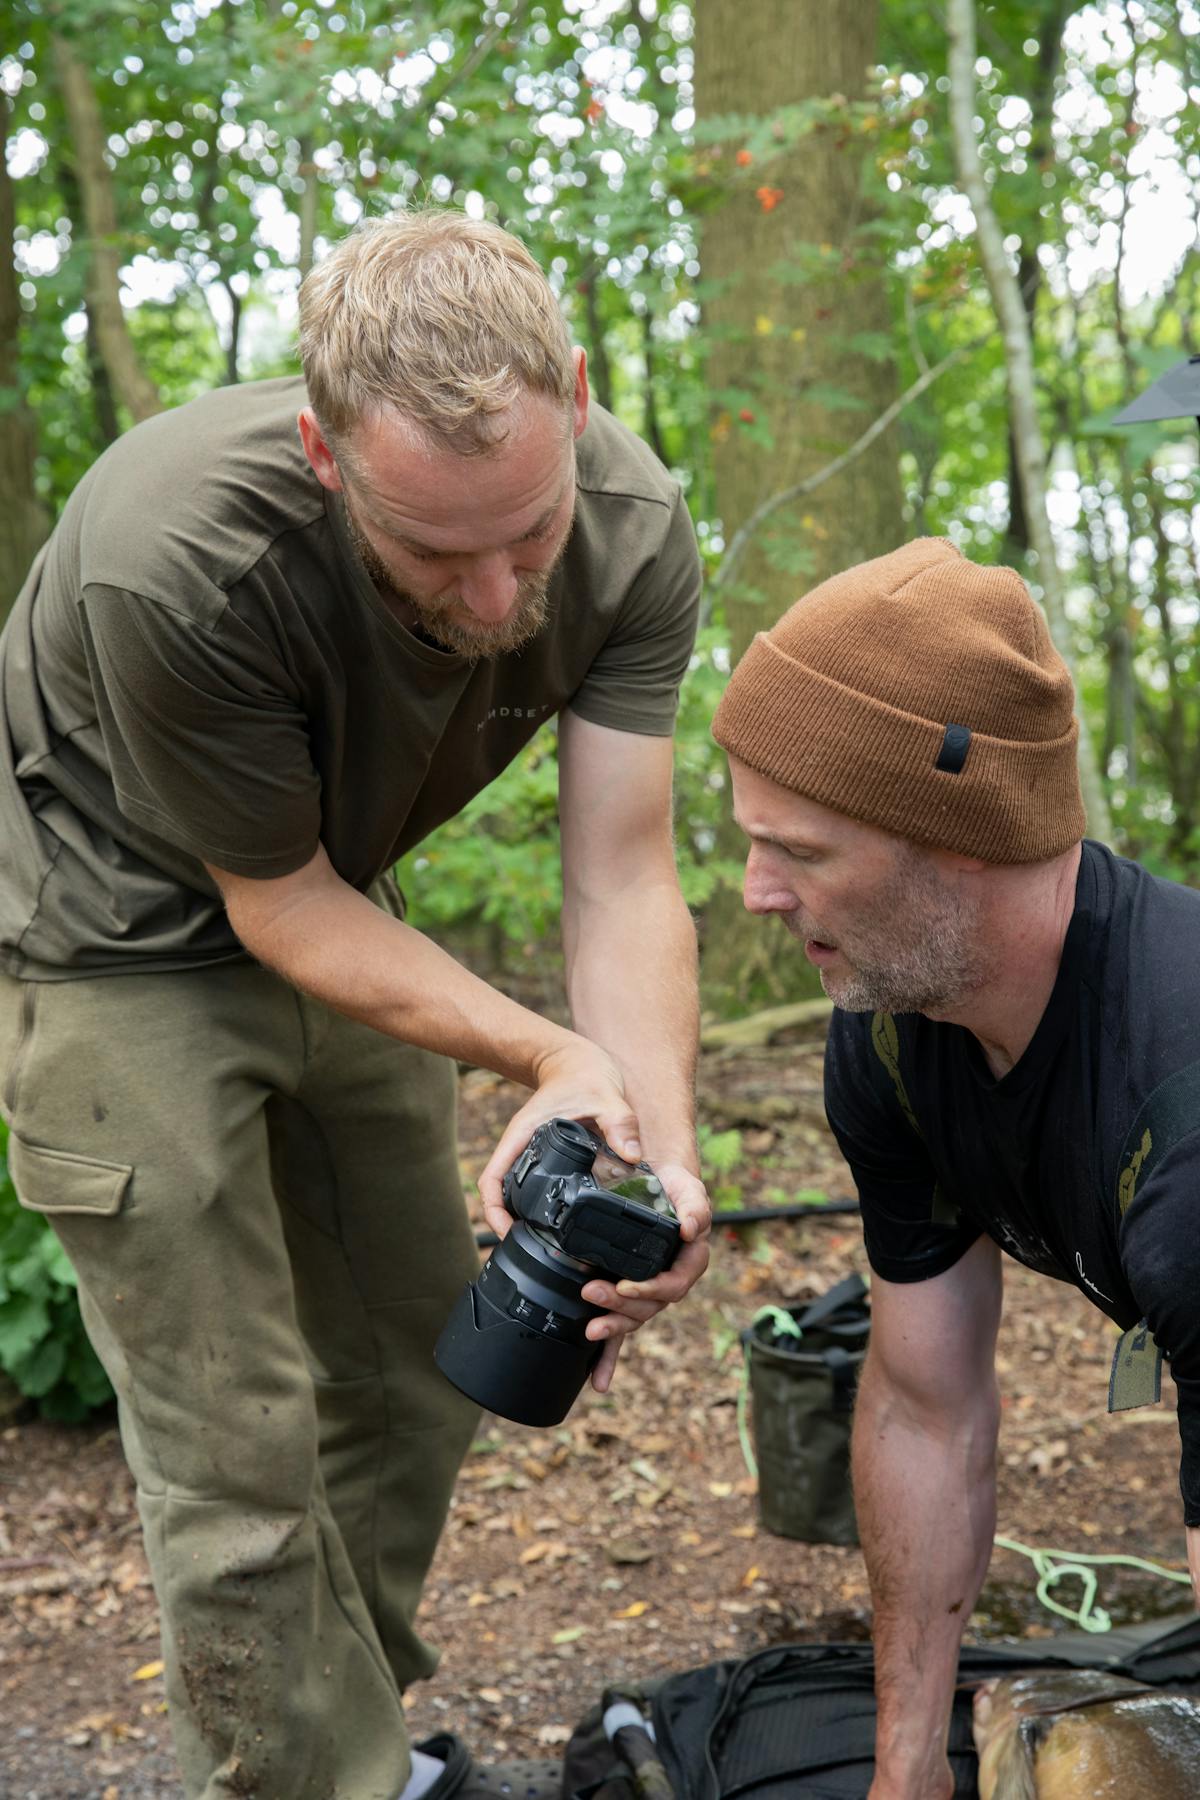
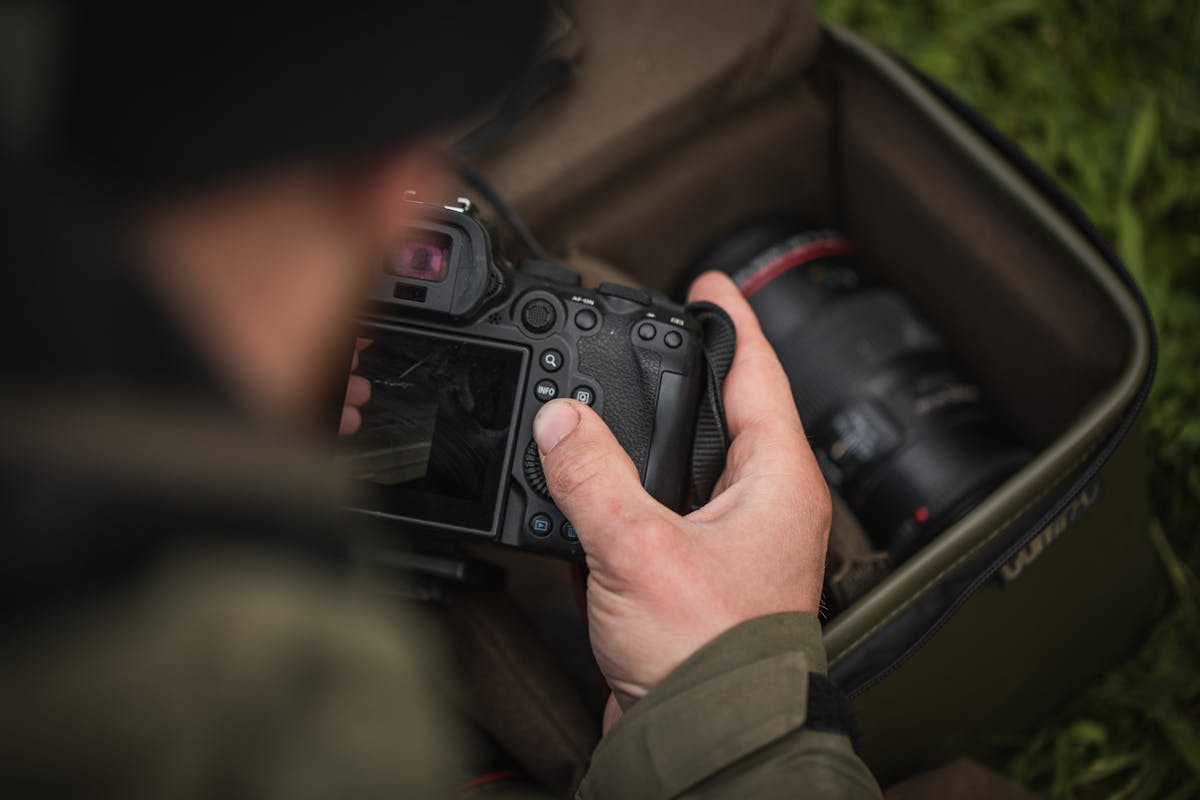
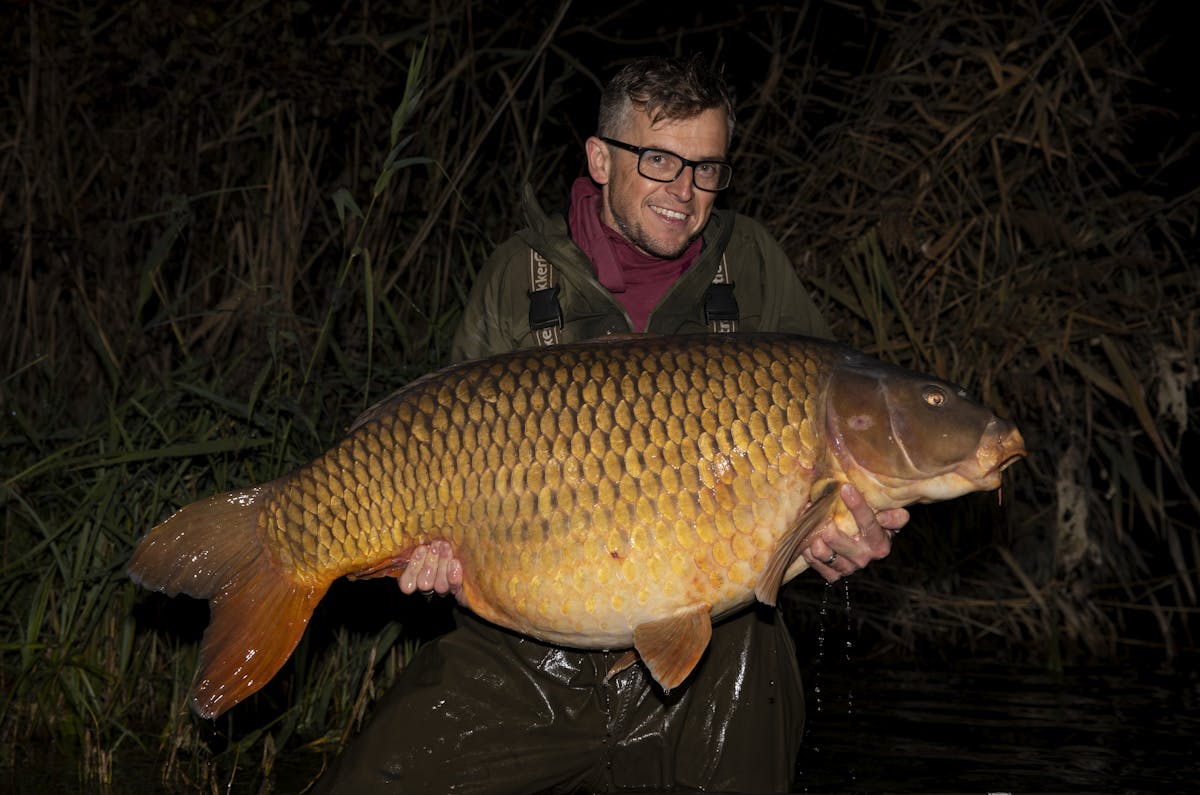
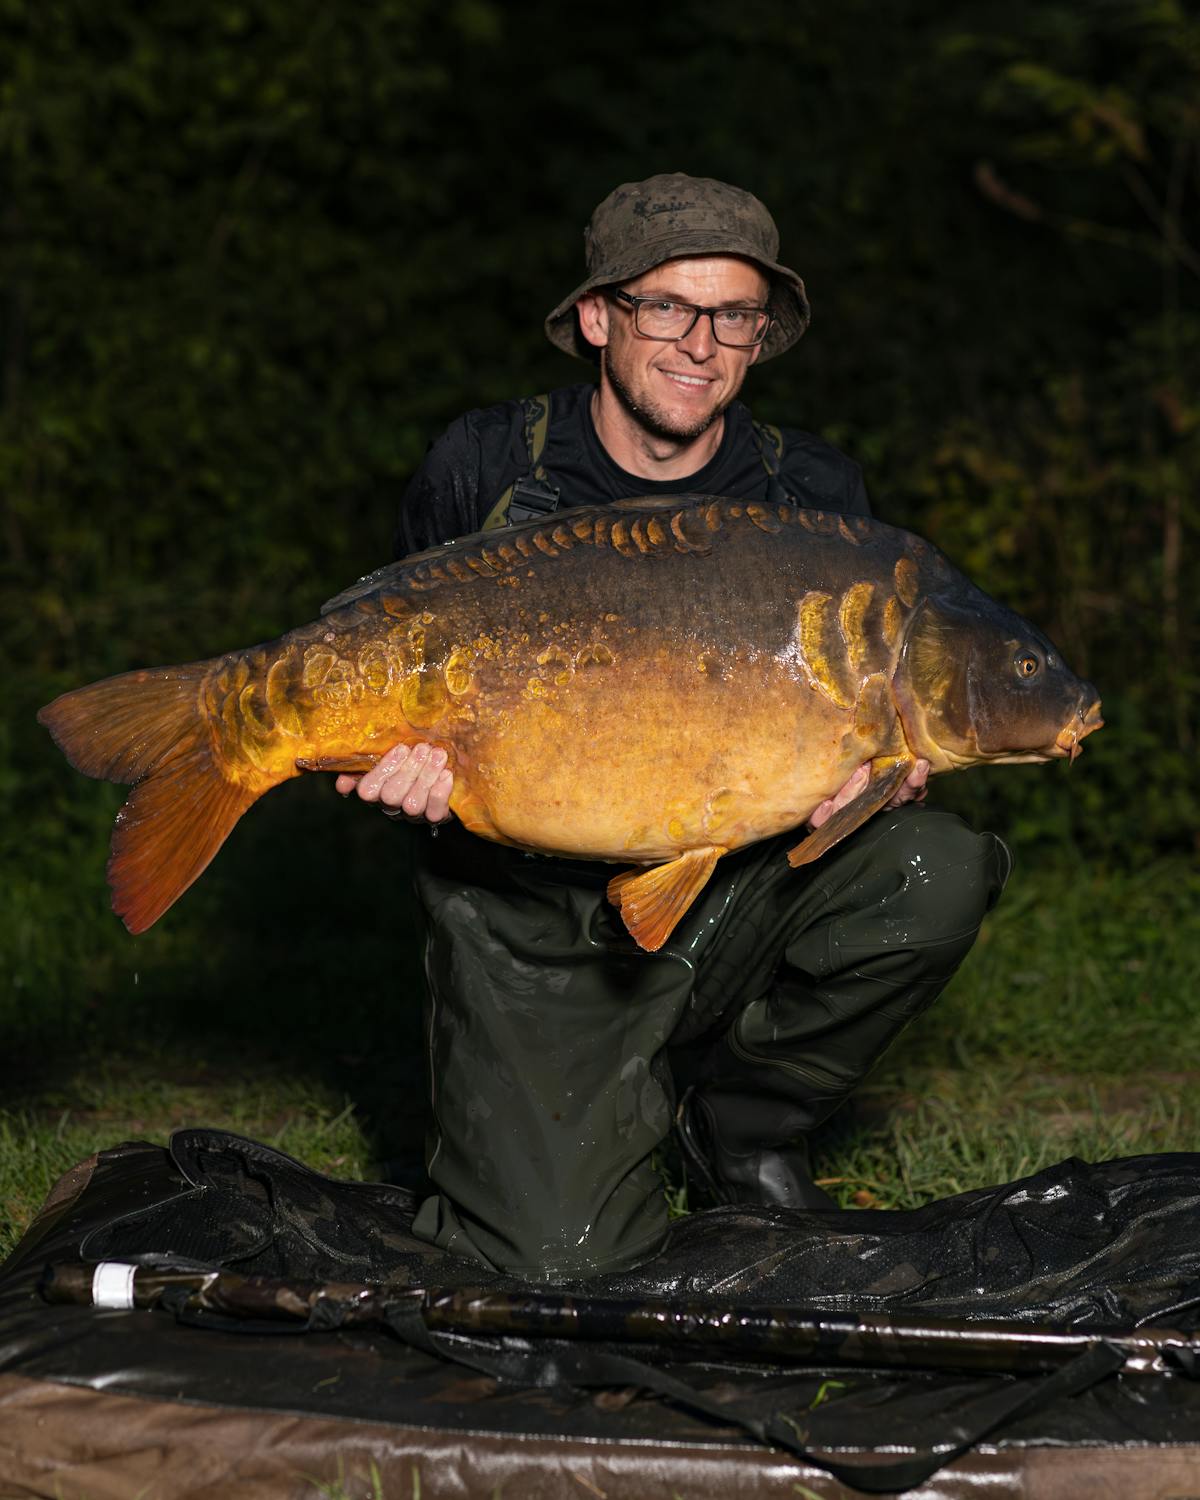
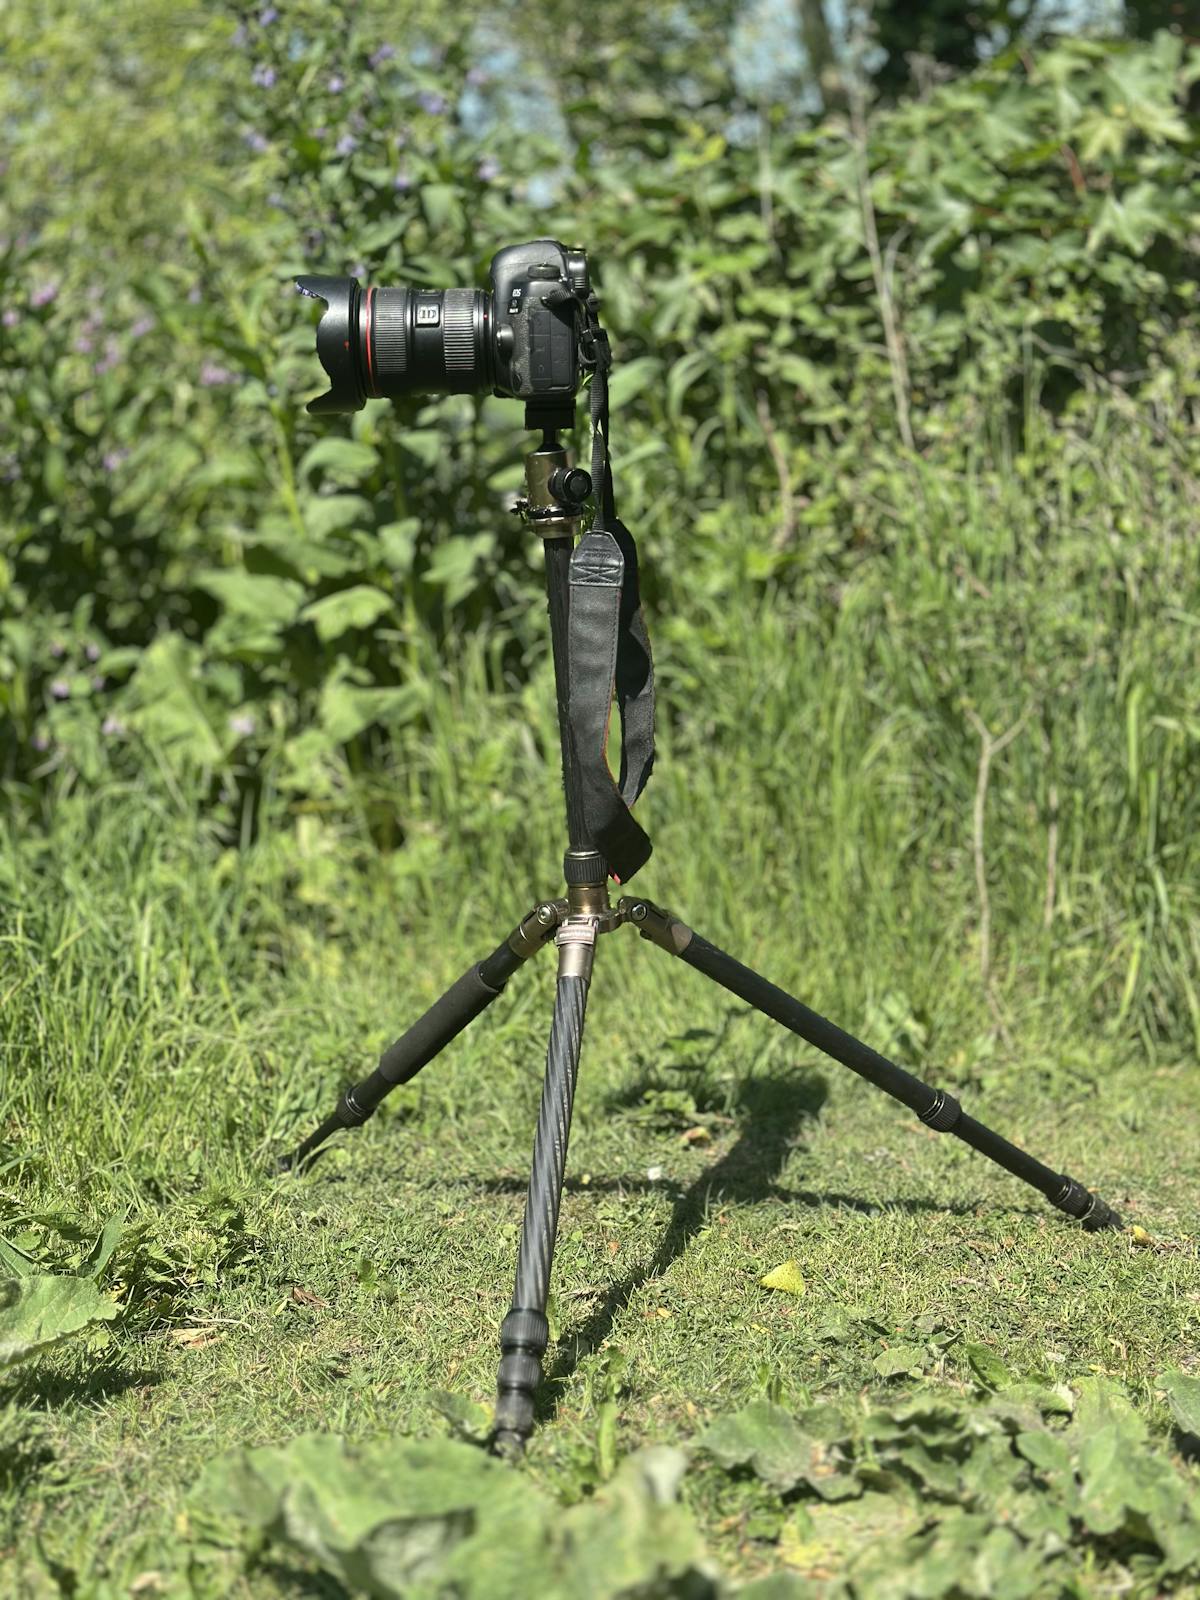
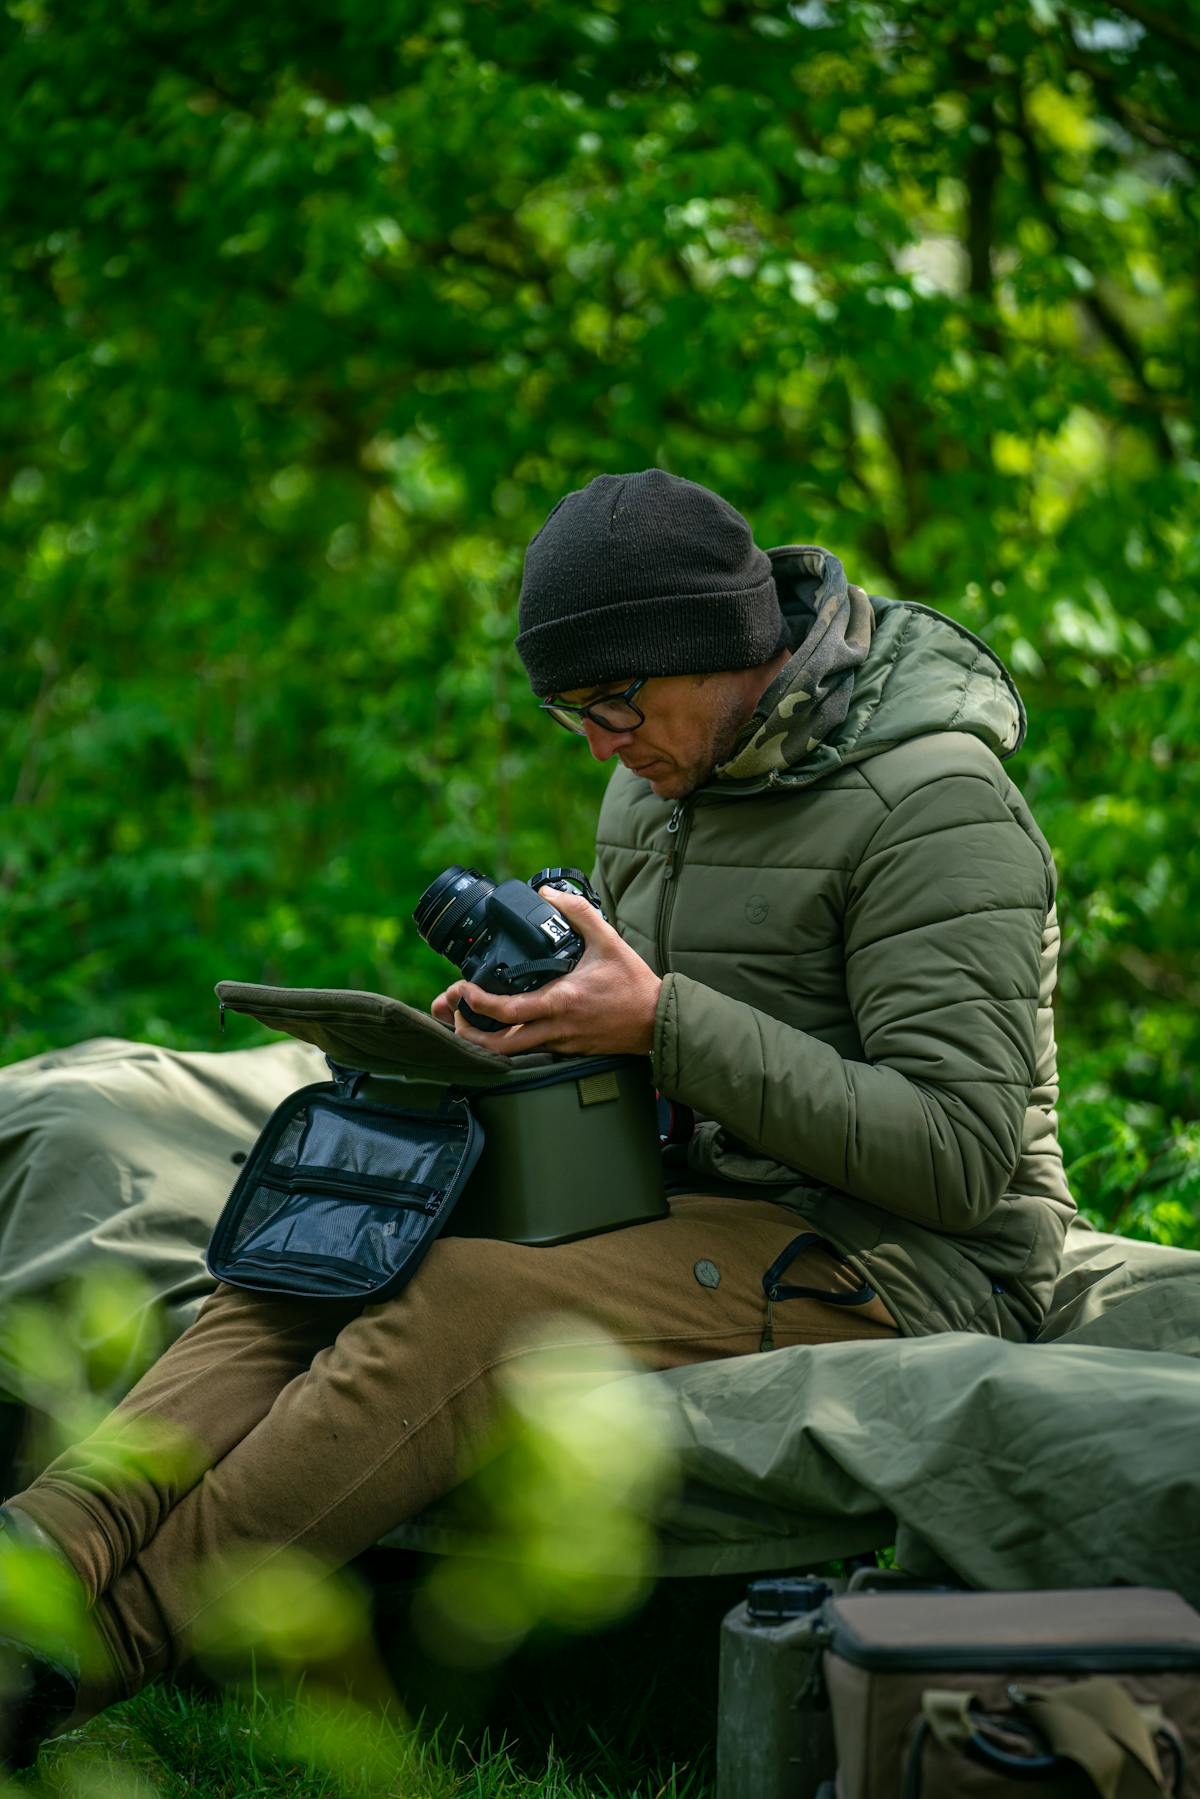
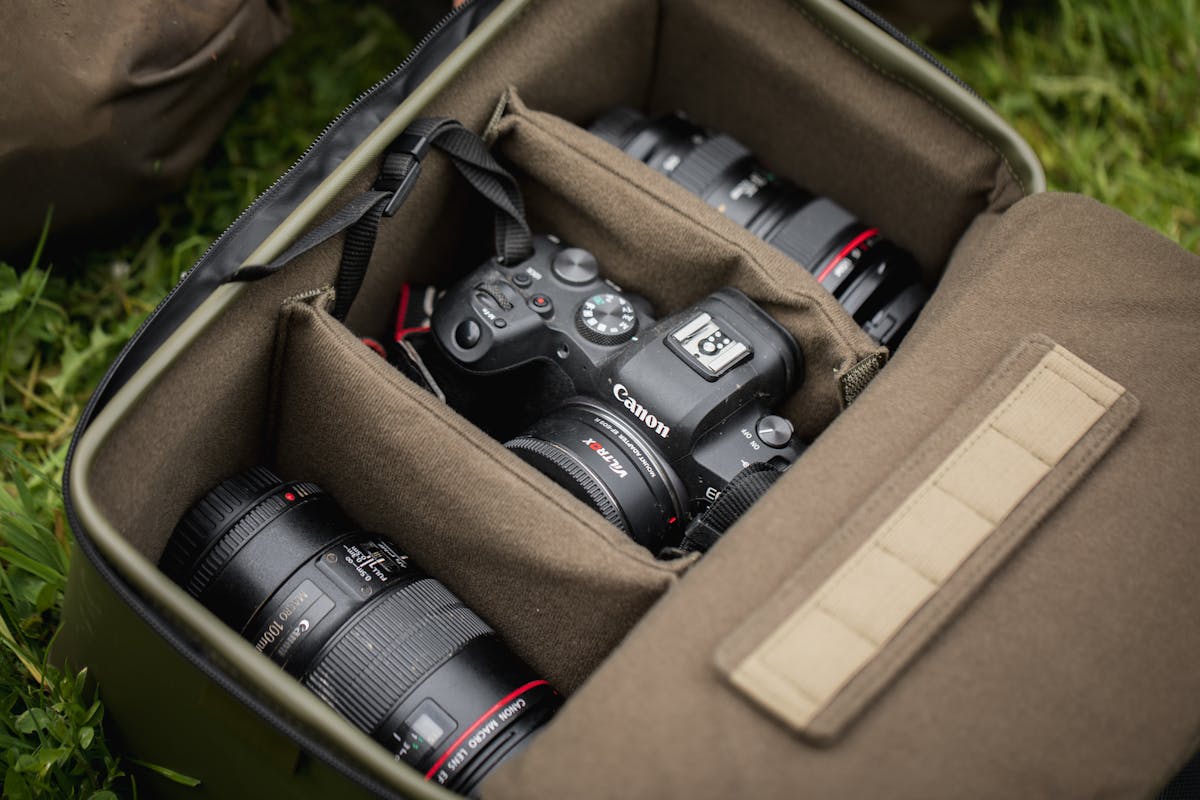
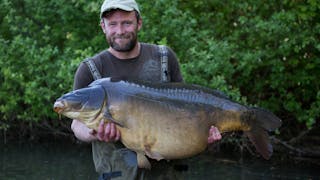
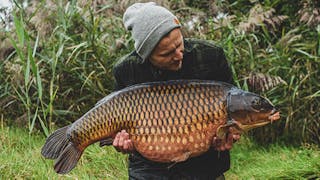
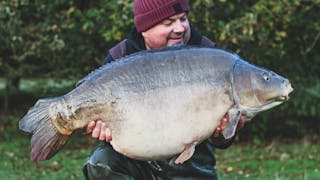
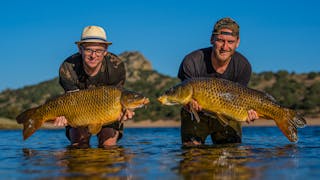
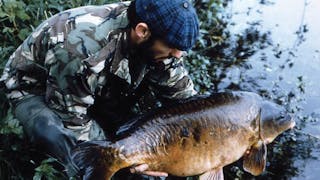
How to take the perfect fishing photos
Everything you need to know to ensure you get a great photo the next time you catch a carp.
As anglers, we spend a lot of time and money trying to catch fish, so when we do succeed and land a big or particularly nice looking carp, then it is important to be able to get a good photo of it.
I’m sure most of us will have, at some time or other, caught a fish that we are very pleased with but the photos have turned out to be a real disappointment, although at these days we have the ability to check the pictures on the screen of the device they’re being taken with to at least check they look ok. In the past you would eagerly await your films being developed, only to find that the helpful dog walker, or whoever took the photo, had managed to chop off your, head, part of the fish, or had stood so far away you had to look carefully to notice that there was someone holding a fish in the shots at all!

Unfortunately that hasn’t changed and won’t do whilst you are relying on another person to take your photos, unless you know that they have a good eye for a shot, and whilst we can check the photos on digital cameras and get them to take more, you will never change the fact that a photo will only ever be as good as the ability of the person taking it.
However much you spend on camera equipment, and with all the clever technology to be found on cameras these days, you are still relying on the person framing the shot and pressing the shutter. Although with things such as facial recognition, the chances of a disaster with the focusing – such as the bush behind you being pin sharp whilst you and the fish are a blur – is greatly reduced.

This article will not only help you to improve the shots you end up with of your own fish, but also when taking photos of your mates and their catches.
Framing a photo properly
Like with any type of art, personal preference plays a big part in this, to the extent it is worth telling the photographer how you like your shots to look, or even showing them a previous example on your phone.
Some anglers like to have fairly tight framing with themselves and the fish filling the frame. Whilst others prefer shots to be a bit looser and with a little more background besides just a person holding a fish, but still so that the catch is the main element.

When taking a photo you want the camera lens to be at the same height as the centre of the photo, which is typically the fish. So if you see someone standing up and pointing the camera down at you and the fish, or at the other extreme laying down and shooting upwards, the chances are the photos won’t be very good and will show a weird perspective of you and the fish.
When it comes to the angle in the horizontal plane at which you are shooting, this again largely comes down to personal preference. Some anglers like the photographer and camera to be exactly square on to them and the fish, whilst others – Danny Fairbrass for instance – prefer their shots to be taken slightly favouring the head end of the fish, but only by taking the shots from a foot or so off of centre to give a little bit of angle on the fish.

At the other extreme, some European anglers, and especially those in the US, seem to love shots that make the fish look massive compared to the angler, and will often take shots that really favour the head end, with the fish being held out and a wide angle lens.
As already mentioned, it all comes down to personal preference as they are your photos and there is no right or wrong when it comes to art, you just need to make sure you get the end result that you want.
Choosing where to take your photos
You need to pick an appropriate background and spot for taking your catch shots, which has suitable lighting at that time of day, and is also flat enough that you don’t risk a fish sliding off of your unhooking mat, and is close enough to the water that you don’t have to carry it far in a sling.
Often when you are fishing a swim you will already have a vague idea of where this spot will be and it might be something you’ve already thought about whilst setting up.
Lighting is very important and you really want consistent sunlight, which isn’t dappled and isn’t too harsh. If you can’t find that then shade is a good alternative, but whatever you choose, try and make sure the lighting on the angler, fish, and background is all quite similar.

Choosing a spot where the light is coming through the trees can result in all sort of weird shadows over your photo; shooting in bright conditions with a lake or sky in the background, but you and the fish in shadow, will result in the background being completely blown out to the extent it appears to be white in extreme cases.
Ideally you want the light to be coming from slightly over your shoulder, which means that the subject (angler and fish) will be well lit and you’ll also avoid throwing your shadow on them.
If you want you and the fish to stand out from the background, then you want to be far enough in front of vegetation and the like that whilst you and the fish are sharply in focus, the background is blurring. That is actually quite easy to achieve, simply by making sure there is distance between your unhooking mat and the background.

When choosing that background, try and avoid vertical straight lines, such as tree trunks, as these can look very weird if it appears that one is growing out of the anglers head in the photo! Ideally something which gives a nice, even, blurred background, such as a large bush or undergrowth. Avoid a load of clutter behind you such as your bivvy, other people, or anything else that will ruin the shot!
Obviously you have to work with what is available around your swim, but things such as treelined paths or tracks can also work very well.
If you are doing water shots then try and make sure there is something behind the angler in the foreground, such as a reed bed or rocks, and not just water and sky.
Optimum focal length for your camera lens
The closest lens to a human eye is 50mm – assuming that you’re shooting on a full frame camera, or a 35mm on a crop sensor camera (which is the equivalent of 50mm) – and this will give the most natural look.
A lens that is very wide will start to distort the photo, to the extent that straight edges such as the horizon, can start to curve, and things such as peoples heads can appear fatter, although typically that is at the very wide end of the range, once you get much less than 28mm.

A wider angle lens also means that to fill the frame you will be much closer to the angler and the fish, and whilst this can make a fish look huge, especially if it is held away from the body, it has the disadvantage of being difficult to get both the fish and the angler pin sharp – if you’re taking a portrait of a person holding a fish, then both should be sharply in focus.
Once you start going the other way and getting to longer lenses, you also get some distortion but less dramatic, and the head of a person can look thinner than it is in reality. It also means that you have to be stood back a lot further in order to fit the angler and fish within the frame, and in many swims that can pose a problem due to space.

Shooting at 85mm, or even 100mm, can produce some very nice photos, and because you are so far away from the subject it means you can get away with a lower aperture, which can be useful in low light, as well as creating a nice effect in terms of the background being blurred and the subject really standing out from it.
Focussing
Most cameras and lenses come with an auto focus setting which is generally very good, and can even be adjusted to your preferences.
Some photographers prefer centre point focussing, where whatever the circle in the centre of the viewfinder is locked onto, will be where the focal point is. Others prefer just to let the software in the camera do its thing and automatically selects the areas that will be in focus - often using things such as facial recognition.

There might be times though where the camera struggles to focus where you want it to - the software in the camera generally relies on contrast in order to determine where it should focus, and in some situations it struggles and won't lock on.
On an SLR you can switch your lens to manual focus and this means you need to focus it yourself, but unless you are an experienced photographer it is best generally just to stick to the preset focus options that the camera offers, where it does it all for you.
Aperture and shutter speed
This is something you’ll often hear anglers talking about in terms of photography, and quoting an ‘f’ number that they prefer to shoot at.
In layman’s terms, the lower the number, the narrower the plane which will be in focus, and so by going too shallow (too low a number, such as f/2.8) there is a good chance that either the fish or the angler will be sharp (depending on which is focussed on) but not both.
You also have to bear in mind that most lenses aren’t particularly sharp at the extreme ends of their aperture range (and with zoom lens this can also apply to the extreme ends of the zoom range), so just because your lens might say f/2.8 on it, that doesn’t mean you’ll get the best results shooting at that!

With a 50mm fixed lens, or a zoom lens set at 50mm, and as long as you aren't holding fish out miles in front of you, then typically you'll get the best results at between f/4 to f/6.3 with a nice shallow depth and blurred background, but is a middle ground given that some lens can shoot at f2.8 or even shallower, but usually both the fish and angler won't be sharp on this sort of setting.
At these settings, and as long as you have some distance between you and what is behind you, you will still get a nice blurred background, but aren’t running the risk that parts of the photo that are actually a part of the portrait, aren’t properly in focus.
You also need to make sure that you are shooting at a high enough shutter speed that things such as shake/movement of your hands whilst pressing the shutter release aren't detectable in the image, and as a guide, you really don't want to go below 1/60th of a second as long shutter speeds result in blurring.

It is of course possible to shoot at lower shutter speeds on a stable tripod, but that doesn’t really help when you have a subject that is moving – a carp will often be extending and retracting its mouth, moving its gills etc, so you need a fast enough shutter speed that prevents that from causing blurring.
Many cameras, not just higher end SLRs, but also compacts and even some mobile phone cameras these days, allow you to set the aperture or the shutter speed, or both, but for anyone who is an amateur photographer, for catch shots it is best just to stick to aperture priority mode, which gives you full control to set that, for example at f/5.6, and then will automatically set a suitable shutter speed – then all you need to do is make sure that shutter speed is above 1/60th, and if not, to adjust the ISO or the aperture (with really steady hands and a well behaved fish, you can push it to maybe 1/40th if you really had to, but the image is unlikely to be pin sharp.

Shutter speed for catch shots is far less important than for other types of photography such as wildlife photography, and your chosen aperture (Av on your camera settings) will normally dictate the speed (Tv), and all you need to do is make sure that it is fast enough that any slight movement from the fish won't cause blurring. of course, if you're trying to take a photo of somebody casting, then that is very different and you want as high a shutter speed as you can get, in order to freeze the rod and/or rig in mid-cast, with no blurring.
What is ISO
ISO stands for International Organisation for Standardisation and is a numerical value that determines how sensitive to light the camera film is – or these days the sensor that has replaced film.
In the past with film cameras you would typically use 100 ISO film for daylight fish photography, and 400 ISO for anything involving a flash and where you needed the film to be more sensitive to the light that was going to be available when taking the photo.
These days with modern digital cameras, and especially so with the mirrorless variety, it is possible to shoot at crazily high ISO numbers and still to get acceptable results, that a few years ago would have been impossible, even with the top digital cameras at the time.

Being able to shoot in lower light has always come at a cost, and that is the ‘noise’ that is visible in your image. In the past this was literally down to the grain of the film, and as ISO 400 film had more grain and not as fine as ISO 100, so whilst it picked up more light, it was also more noticeable in the photo, and hence why some pictures have a grainy look to them.
The same principles apply now even with digital and turning up the ISO is basically just making each individual pixel more sensitive to light, but the cost of that is that each of those pixels also becomes more noticeable, and is why shooting at a very high ISO (relative to the cameras optimum range) produces images that are described as being noisy.

Modern cameras can shoot at crazy ISOs compared to in the old days of film, and whilst ISO 400 was the most you would have used back then, some modern cameras can produce good shots with little noise at ISO 6400, and at a push you could even get away with shooting something at ISO 12800.
This means that in low light conditions you can potentially get away with shooting without the use of a flash. Even if you do get some noise, there is plenty of software these days that uses AI to help remove that, although the images can look a bit flat if you are blowing them up to a large size.
Mobile phone cameras
Cameras on mobile phones have come on in leaps and bounds in recent years, and probably even more so has the software that they use, as this is often taking data from multiple lenses at the same time.
A good mobile phone camera can achieve photos that are perfectly acceptable if viewing them on social media and the like, but will always lack detail if blowing them up large to hang on your wall – the size/diameter of the lens and the quality of the glass used to shoot an image still play a part.
As mentioned, these days they tend to include lots of clever software to achieve all sorts of effects – via combining parts of multiple images taken at the same time – and you can choose to blur backgrounds and even set the aperture at which you want to shoot.

Some phones are better than others in night mode, but generally that tends to be the worst light to use them in, and results on a lot of phone cameras are poor at night.
It’s also worth noting that if taking self takes with them and having the phone set up on a tripod so the screen is facing you, then with many models a lot of the photography functions aren’t available.
So, whilst being a very convenient way of taking photos and carrying a camera, and producing passable results for use at a smaller size, such as on social media, if you want really good photos, then you will need a camera.
SLR versus compact cameras
If you choose a top end SLR camera aimed at professional photographers then of course it is going to have a lot more functions than a cheaper compact, but you have to consider just how many features and functions you actually need if all you’re doing is occasionally getting it out of the bag to take some photos of fish.
Traditionally, SLRs gave you the option of attaching all sorts of different lenses to them, whilst a compact came with some sort of zoom – a combination of optical (preferrable) and digital zoom to allow you to shoot anything from wide angled shots to zooming in on things further away, such as wildlife.

A compact camera has a bigger lens – in terms of the amount of glass used – but still nothing like you will find on the lens used with an SLR, which are typically 58mm to 82mm across the front. Generally the more glass you have, and as long as it is of a high quality, the better the end result you will get.
The ability to change lenses also gives you much more flexibility if you’re using the camera for different things, although does have the downside of being heavy and bulky, especially with extra lenses.

These days there are also plenty of cameras that are somewhere inbetween an SLR and a compact, but aimed more at amateur photographers, and offering the ability to change lenses and settings, but in a body that is more of a compact size.
Things have moved on in the last few years and mirrorless cameras have now taken over - very different to a traditional single lens reflex (SLR) camera which had a mirror inside. These mirrorless cameras require lenses specifically designed for use with them, or some sort of adapter which will let you use your older SLR lenses.
Night photography
If you are going to be photographing fish at night then you are going to need a flash, or you can use the cameras built in flash if it has one.
At dusk and dawn you may get away with shooting at a high ISO and no flash, but once it is properly dark then you will need one. If you have a compact camera it will come with one built in, but if you have an SLR then you will need a separate external flash.
Some people favour LED light panels but they don’t produce such a good result as a flash, which produces a brief moment of light that freezes the subject and allows it to be captured by the camera.
These LED panels can be useful though for lighting up the background, if positioned correctly, and also for mobile phone shots where the built in flash isn’t great.

All different flashes are available, and the model you choose depends on what features you need it to have, as well as your budget. For most fishing portrait photography, shooting it pretty much automatic, on the ETTL setting, should yield decent results.
In terms of settings (if your camera lets you change that), ideally you want to shoot at 1/60th shutter speed (perfect for flash photography) and also to set the aperture as well – f/5.6 usually produces good results with a 50mm lens – and this will mean going into the manual setting that allows you to set both. Otherwise, if you only set the shutter speed your camera will usually default at night to the lowest aperture the lens is capable of (which may be too narrow to achieve a sharp image of both you and the fish).
Remembering that a higher ISO means more grain/noise in your photos, you want to set it at a level that gives a nice clean image, and that will depend on the camera. Even shooting at the 400 ISO level that was used before modern cameras came along will achieve good results.

For the camera to focus, you will need a light source on the subject, i.e. some sort of torch, and as long as you have a decent flash then you can leave the light on whilst taking the shots. This will help with framing and the power of the flash is sufficient that you won’t even notice the torchlight in the photos.
When it comes to choosing a background at night, you want something to be fairly close behind you, such as a bush covered in leaves, as you need something for the flash to bounce off of and light up, rather than it disappearing into the darkness and the photo basically being of you holding a fish in what appears to be a black hole all around you!
How to use self takes for great photos
If you fish on your own a lot then the chances are you will need to learn how to do self-takes if you want to be able to get a catch shot, and some anglers just prefer to rely on these anyway rather than risking getting a random person to take the shots.
The two most critical things with self-takes is getting the framing correct – easy if you have a flip round screen – and also making sure the camera is focussed on the right thing (you and the fish), which again is a lot easier with a flip round screen.
With a flip round screen and your camera positioned on a tripod at the right height and pointing in the right direction, with your preferred settings, it is then simply a case of moving yourself and the fish into exactly the right position so it is nicely framed. Then just triggering the shutter via a remote or a built in interval-o-meter that can take multiple shots at a time with a preset gap between each one.
If you don’t have a flip round screen then you need to do it the old fashioned way, by setting your camera up on a tripod in roughly the right place, then crouching in by your unhooking mat and taking a few test shots until you have it framed right. This is also the time to set the focus – which can be done by switching the lens to manual and then tweaking the exact focus with test shots until you have it right.
Or, if you have an SLR type camera, you can place a bankstick in the centre of the shot, roughly hallway between where the fish and your face will be, focus on that with the lens on automatic, then switch the lens to manual to lock the focus at that exact distance.

To check how well focused your camera is, try holding a piece of clothing that has texture to the material – such as a hoody – and once you’ve taken a test shot you can zoom in and see more easily whether it is pin sharp or not, as compared to trying to see that with just your skin/hands.
Whatever your set up, it is well worth practicing in your back garden beforehand so you know roughly how everything should be set up. Once you get it right you can achieve just as good a photo as if somebody else took it, although you do of course limit your ability to get different angles etc.

Just remember that you have a live fish on the bank, and it is important to keep it wet whilst doing the photos – have some water handy in a bucket – and to get it back as quickly as possible.
Protecting your camera gear
You are going to need a bag not only to carry all your expensive camera gear in, but also to protect it from the elements whilst out on the bank – damp/moisture in particular.

A special camera bag is ideal for this – the size will depend on how much gear you take with you and the type of camera you have – as the compartments are made specifically for things such as lenses and camera bodies, plus places to store essentials such as memory cards and spare batteries.
These type of bags are well padded to protect everything, and ideally you want something that is at least water resistant, given that you will be using it outdoors all the time.

The Korda Compac Camera Bag range is ideal for this as it has been designed specifically for the purpose of transporting and storing camera equipment whilst out on the bank, and has been made to meet the needs of our own team anglers, and staff, who spend a lot of time outside with camera kit.
There are three different sizes of Compac Camera Bags – small, medium and large – to cover anything from a small compact camera up to an SLR with a couple of spare lenses and a flash. Removeable dividers allow you to configure the interior to suit you, and there is plenty of padding to protect all your gear.

The EVA material with welded seams that is used to make these bags is also highly water resistant and when the bag is on the ground water can’t soak into it – the three-quarter zip around the top is the only area where it isn’t water resistant, but a lip inside the bag adds extra protection here as well against water getting inside.
Editing and post processing
Ideally you want the image that comes straight off of the camera to be as good as possible without needing to make an adjustments to it.
But a lot of fishing photos can benefit from some basic editing – shooting around water means there is often plenty of glare, so for instance, removing some of the highlights and white from an image can often improve it. Adobe Lightroom is a popular choice of editing software, as is Photoshop.
Another good example is night shots, where the flash will struggle to light up all of the background, but you can edit out some of the shadows and this gives more definition to whatever is behind you and usually improves the photo.

Editing is a whole subject in itself though, and for most people, when it comes to fishing photos, the aim is to need to do as little of it as possible and get a good shot in the first place.
If you are planning to do any amount of photo editing, it is best to shoot your photos in RAW format (or both than and a JPG) as this gives you a lot more scope for altering the photo.
With mobile phones editing is simple as the software is usually built in and you can easily make tweaks. It’s always best to shoot at the highest resolution that your phone, or camera, allows, especially if you want to blow photos up to a larger size or crop in on them.
Featured products
How to guides

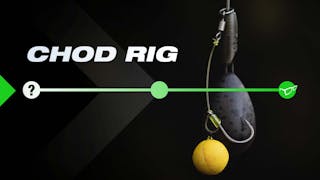
How To Tie The Chod Rig
Learn how to tie a Chod Rig, perfect, everytime!

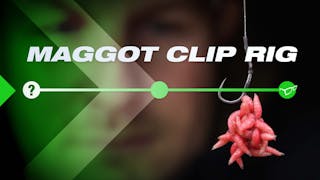
How To Tie The Maggot Clip Rig
Rob Burgess shows how to tie a simple, yet effective rig for presenting maggots

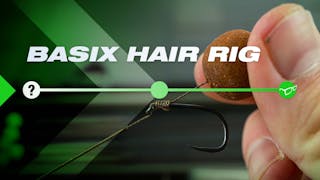
How To Tie The BASIX Hair Rig
Here is an easy to follow guide on how to tie a Basix Hair Rig

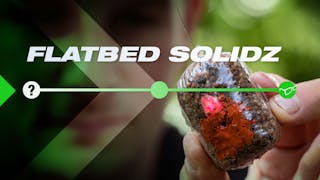
How To Tie The Solid PVA Bag (Flat Bed Style)
Korda Koach Rob Burgess show's you how to tie his Solid PVA Bag in his unique Flat Bed

How To Set Up A Heli-Safe Tubing Kit
How to set up a Heli-Safe Tubing Kit

How To Tie A Combi Rig With Loops And Booms
Constructing a Combi Rig has never been easier!

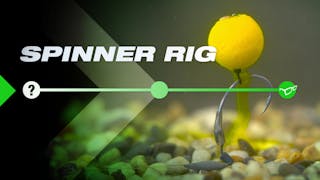
How To Tie Spinner Rig
Tom Dove explains how he likes to tie the famous Spinner Rig

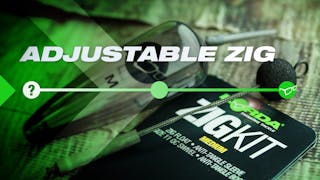
How To Use Adjustable Zigs
Dovey talks you through how easy adjustable zigs are to set up and exactly how to use

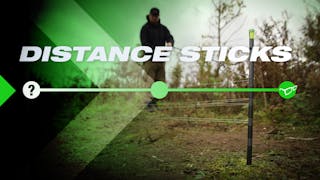
How To Use Distance Sticks
Distance Sticks are a key product in helping you fish spots accurately every time!
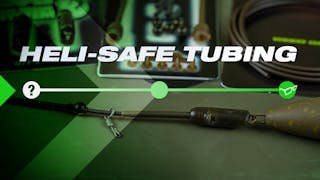
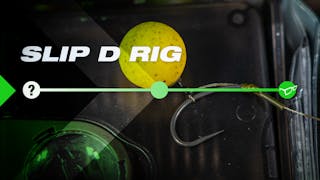
How To Tie The Slip D Rig
How to tie a simple, yet effective Slip D Rig
Advice and tips

Danny Fairbrass on using the Multi Rig
Despite being a self-confessed ‘rig man’ DANNY FAIRBRASS took a while to try the multi

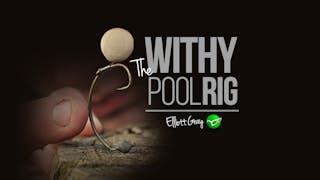
A Guide to the Withy Pool Rig
The Withy Pool Rig, Elliott Gray explains.

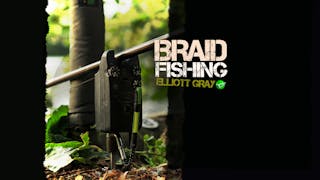
Ultimate Guide to Braid Line Fishing
Elliott talks braid and why he loves it.

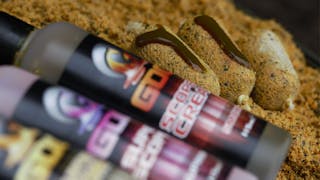
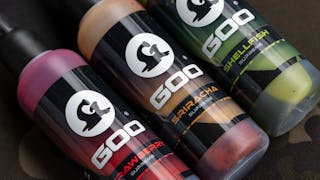
Jamie Londers - Goo Tips
Carp catching machine Jamie Londors talks the importance of Goo in his angling.

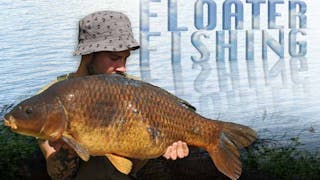
Elliott Gray - Floater Fishing
Elliott discusses one of the most exciting ways to catch them.

Elliot Gray - Particle Fishing
Particle fishing with Elliott Gray.

Scott Sweetman - Fishing In The Silt
Scott talks how and why he likes to fish in the silt.

Luke Vallory - My Three Rigs
Luke explains what his go to set up is for bottom baits, wafters and pop-ups.

Tom Stokes - Fishing in Weed
Tom Stokes explains how to fish in and around the weed.

Tom Stokes - Why I Fish Heli Safes
Tom reveals how and why he fishes with Heli Safes.
Angler features

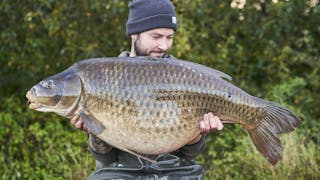
Darrell Peck - The Black Mirror
Peck recounts his campaign for one of Europe's best, 'The Black Mirror'.

Scott Sweetman - Two A-Teamers In One Net
Scott Sweetman Tells The Story Of A Night He Will Never Forget
Marc Cavaciuti - Spring Tactics
Can discusses spring tactics in depth.

Barry Delderfield - The Campaign
Barry reflects on an incredible campaign on 'The Nunnery'

Dave Finn - A 35 Year Flame
A nostalgic reflection on Finny's 35 years in carp fishing.

Elliott Gray - Fishing in the Edge
Elliott discusses his favourite way to catch them, in the edge.

Elliott Gray - The Autumn Campaign
A campaign Elliott will never forget, ending in a huge UK common.
James Salmons - The Spring Campaign
The story of an epic spring campaign, ending with a huge UK common!

Luke Vallory - Autumn on Dinton Pastures
Luke reflects on a prolific autumn on the tricky Dinton Pastures.

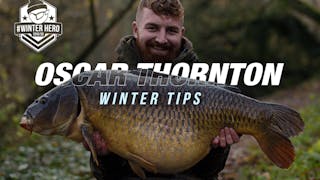
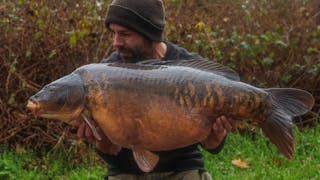
Oscar Thornton - Winter Mindset
Oscar reveals his biggest winter edges that makes his winter fishing so prolific.
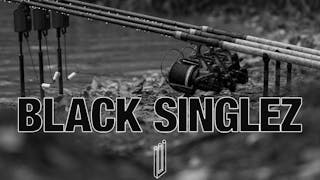
Product focus

Black Singlez - Rod Support System
Introducing Tom Dove's Brainchild, the super-light Black Singlez rod support system!
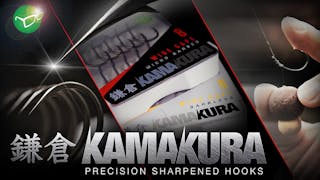
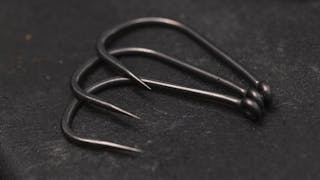
Kamakura - Precision Sharpened Hooks
We believe a sharp hook to be the single most important part of your tackle.
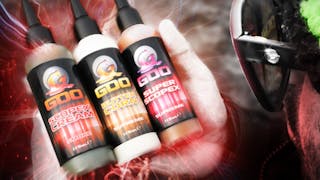
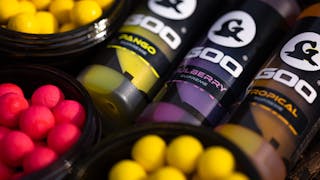
Kiana Carp Goo - Scopex and Buttercorn
Here's what you need to know about Scopex Cream, Super Scopex and Buttercorn Goo
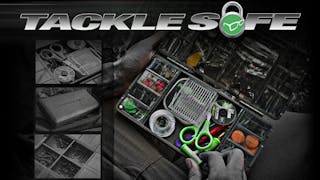
TackleSafe - Terminal Tackle and Rig Storage
The ultimate storage product for your essential items of terminal tackle.

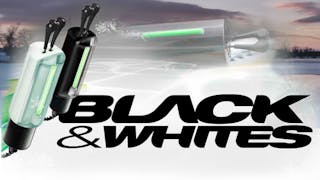
Black & Whites - Bite indicators (Bobbins)
Here’s a look at the latest Black & White bobbins.
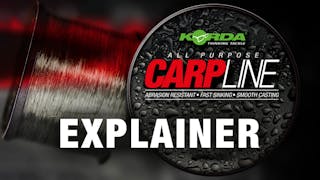
CarpLine - Monofilament Fishing Main Line
We reveal why Carp Line has won so many fans in the carp world.
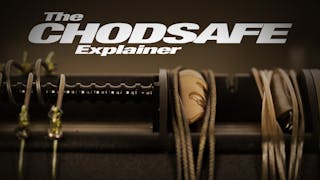
Singlez - Rod Support System
Everything you need to know about Singlez.

ChodSafe - Chod Rig Storage
The ChodSafe is the mother of the RigSafe family.
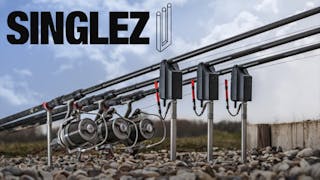
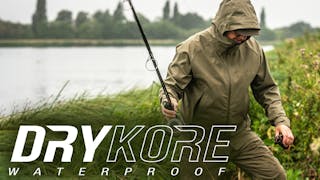
Drykore - Waterproof Clothing Range
The DRYKORE range is breathable, lightweight, and constructed from industry-leading 15K
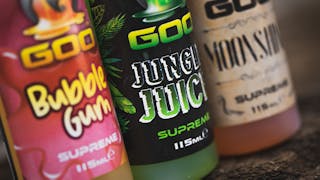
Heli-Safe - Lead Systems
A uniquely designed product allowing the angler the choice to drop their leads while
Related news

Watch ALL Monster Carp Episodes on ITVX
20.06.2022
The eagerly awaited seventh season of Monster Carp is now available on ITVX, and is even

UNDERWATER - The Test Tapes revealed
19.01.2023
UNDERWATER “The Test Tapes” follows Danny Fairbrass and Team Korda on an exciting journey

The NEW Kaizen Platinum range of rods!
21.03.2023
After several years of development and many hours of testing, we finally have a range of

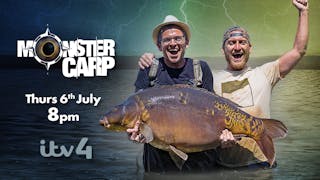
Monster Carp Returns With Season 8 at 8pm, July 6th!
04.07.2023

Thinking Tackle Returns To Gigantica! Here's the details
04.08.2023
Darrell Peck and Danny Fairbrass Return To Gigantica! Watch On Youtube - Available Now

A good as Carp get! Luke Vallory catches Coins
02.10.2023
Coins a special carp caught by Luke Vallory

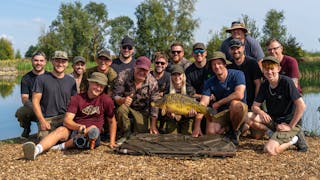
The Melanoma Weekender at Baston Serpentine Lake
02.10.2023
An event held on the unfished Baston Serpentine Lake to raise money for Melonoma Focus. A

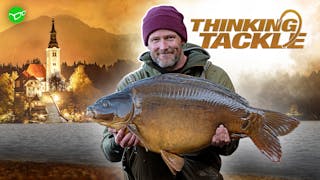
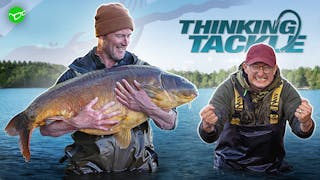
New Thinking Tackle film at the iconic Lake Bled
18.10.2023
Darrell Peck takes a trip to Slovenia to tackle Lake Bled

Tom Maker has one of his best winter sessions EVER!
21.02.2024
Tom Maker has one of best ever Winter Sessions

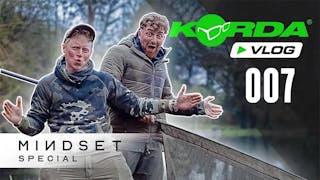
Korda Vlog 007 Out Now!
26.02.2024
Johnny Old and Oscar Thornton's Winter Carp Fishing Carnage!

Ritchie McDonald Mindset film out now!
04.03.2024
A look into the Mindset of carp fishing legend Ritchie McDonald

Goo, NEW hooks and more in our latest product launch!
15.03.2024
March 2024 Product Launch

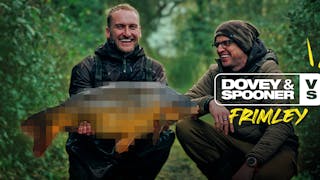
Out Now: Spooner and Dovey's Latest Episode at Frimley
17.03.2024

Special 100th episode of the Thinking Tackle podcast out now!
18.03.2024
This special episode of the Thinking Tackle Podcast features Danny Fairbrass, Damian

Big Hit Fishing Masterclass - Available now !
25.03.2024
Big Hit Fishing Masterclass with Rob Burgess is available now !

Tom Stokes at Stoneacres is out THIS SUNDAY
12.04.2024

NEW Kaizen Green Rods are out now!
23.04.2024
Our new Kaizen Green range of rods, that offer exceptional performance and looks, but at a

Spooner's Tactics Fishing The Secret Lake
03.05.2024

BIGGEST carp caught by a female angler in the UK! 🎣🔥 WOW!
31.05.2024
Naomi Turner's RECORD BREAKING catch!

You Care, We Care, Fishcare & More New Products
28.06.2024
June 2024 Launch - A range of eagerly awaited products are now available in stores.

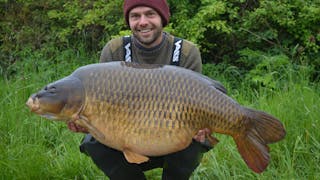
Fishing: Darrell Peck Catches His 100th UK Carp Over the Magical 40lb Mark! | Korda
05.07.2024

Summer Day Ticket Masterclass - Darrell Peck
19.07.2024
Darrell Peck reveals the tactics that bring him so much summer success on day ticket lakes

Underwater - Norton Disney is out now!
29.07.2024
Watch now as Danny Fairbrass and Tom Stokes try to outwit the carp with their best rigs in

The rig evolution that changed Danny's fishing forever!
30.07.2024
Danny Fairbrass made numerous rig tweaks during Underwater filming before finding the Holy

Part 2 of the Tom Stokes Korda Mindset film out now
29.08.2024
Tom heads back to Stoneacres, in Oxfordshire, to continue his campaign for some of the

Thinking Tackle Carp Arena out now
01.09.2024
Darrel and Tom head to Belgium for a spring session on Carp Arena's Clover where they hope

‘What We Thinking Tackle” Danny Fairbrass in Hungary
20.10.2024
‘What Were We Thinking Tackle” Danny Fairbrass in Hungary

NEW RELEASES - Drykore Jacket and Over Trousers MK2, plus a larger Tackle Box.
10.12.2024
New Drykore clothing plus a larger Tackle Box are out now.

Kaizen Green Dreams
12.12.2024
Kaizen Green rods are now back in stock

Underwater After Hours - out now!
23.12.2024
Darrell Peck is in front of the Underwater cameras for the first time, how will his rigs

NEW RELEASES for March
12.03.2025
New tackle and clothing out now

Zig Kit Bundle out now
28.03.2025
All the components you need to fish adjustable zigs just like Rob Burgess

Exciting new products for April!
14.04.2025
New Korda products out now - including additions to the Basix range and latest Goos

Eagerly awaited new Korda products are out now!
21.05.2025
Exciting new products for May 2025

New Korda products for June in shops now!
20.06.2025
Everything you need to know about the new additions to the Korda range