How To Tie The Combi-Multi Rig: Darrell Peck's proven set-up
The Combi Multi Rig is effective with any wafter or balanced bait, including a snowman presentation, and is favoured for its ability to prevent tangles and ensure efficient mechanics, due to its combination of a stiff boom and a supple braided section.
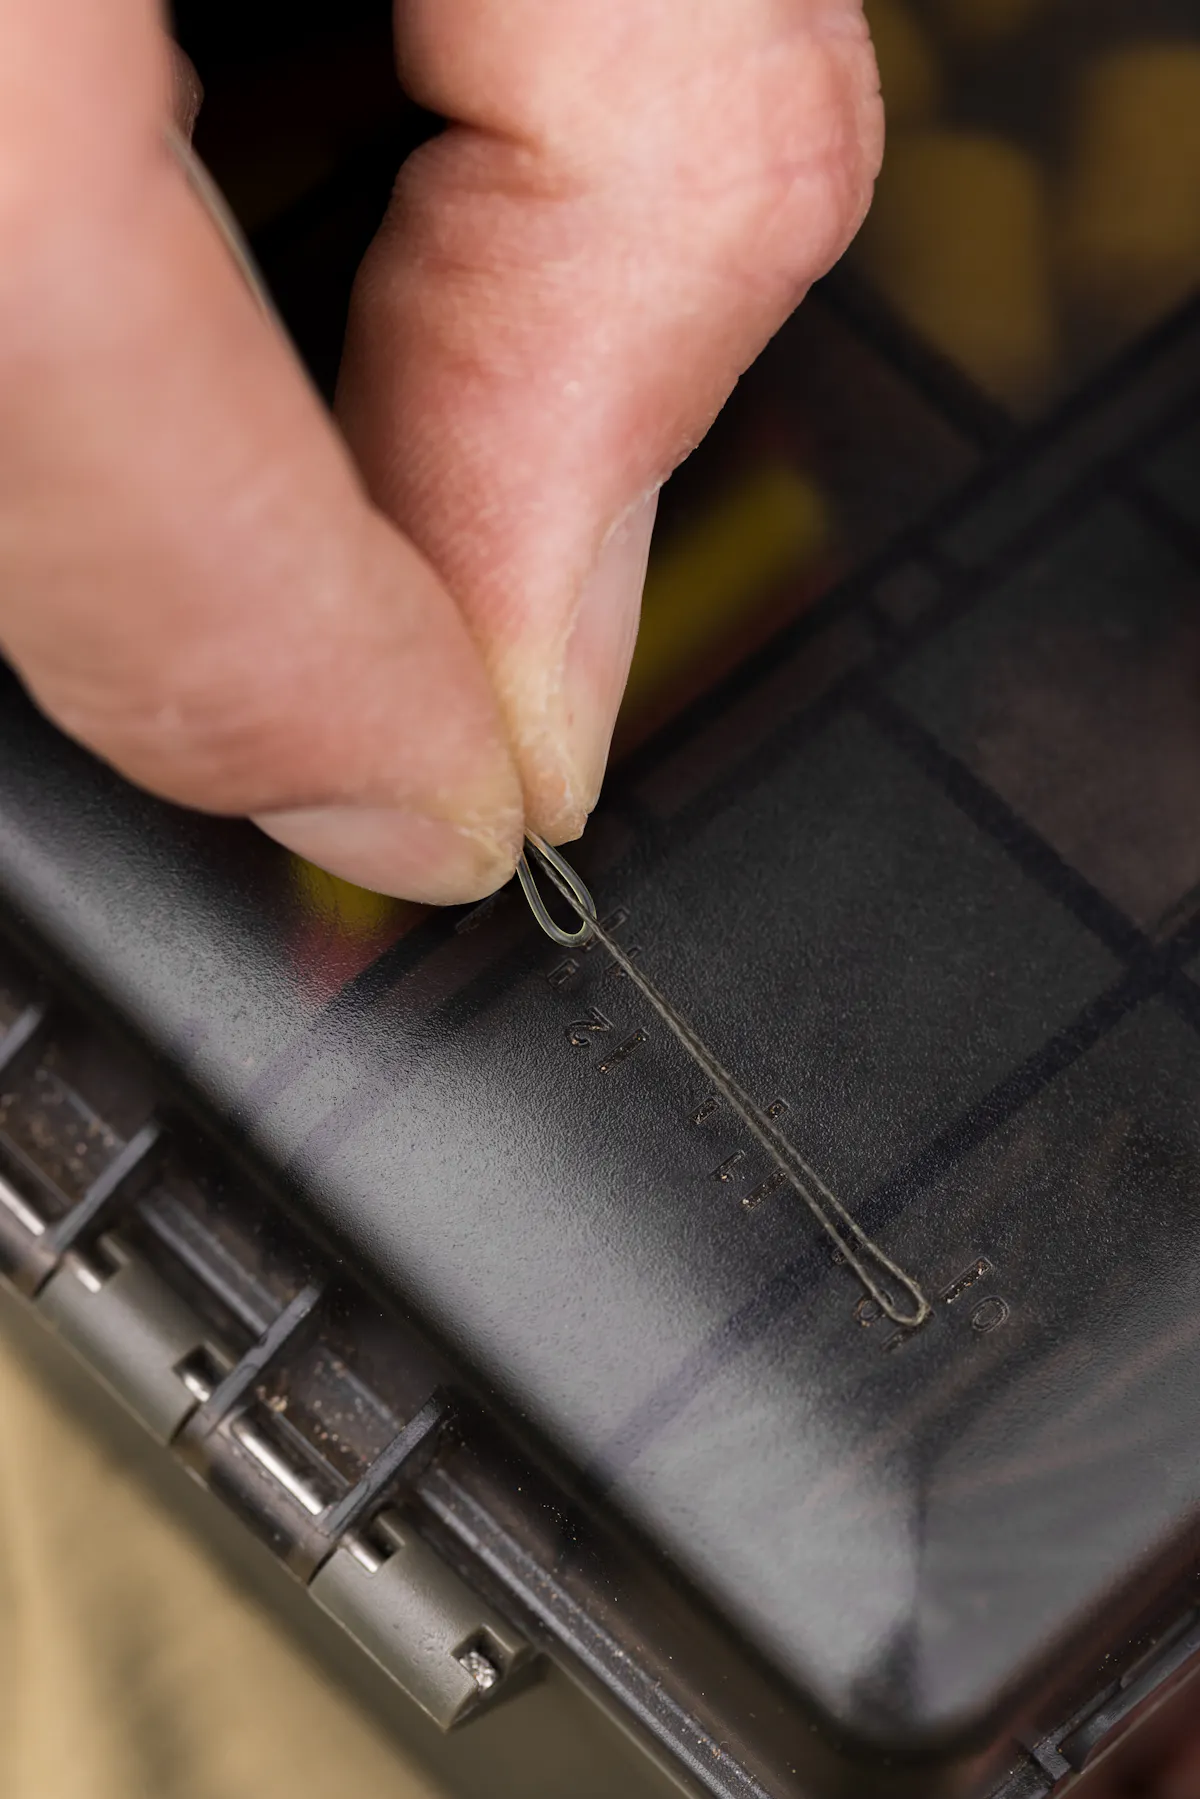
Fold loops into your Boom material and Slip-D Braid ready to tie an Albright knot
Take 8in. of Korda Slip-D Braid and fold it in half to form a loop. Then fold over the last few inches of some 25lb Korda Boom to form another loop, holding that securely in your fingers. Thread the loop of braid through this loop in the Boom, so that both loops are facing in the same direction, and then measure it so the gap between them is 2.5cm.
Tie an Albright knot to form a braided loop attached to the end of the boom
Tie an Albright knot to join the braid to the Boom. Do this by wrapping the two tag end of the braided loop around both side of the Boom loop, starting nearest your fingers and working your way towards the end of the loop. Then pass both tag ends of braid through the loop in the Boom material – in much the same way as you would do with the eye of a hook when tying a knotless knot. Carefully tighten the knot by hand initially, then use a Korda Pulla Tool inserted into the braid loop to really pull and bed the knot down – if it doesn’t slip at all then it will hold under any pressure. The finished braided loop you are left with will be around 3.5cm (the optimal length for the braided loop section in the combi multi rig is 3.5cm, which has been determined through experimentation). A small piece of 0.7mm silicone over the joining knot looks neater.

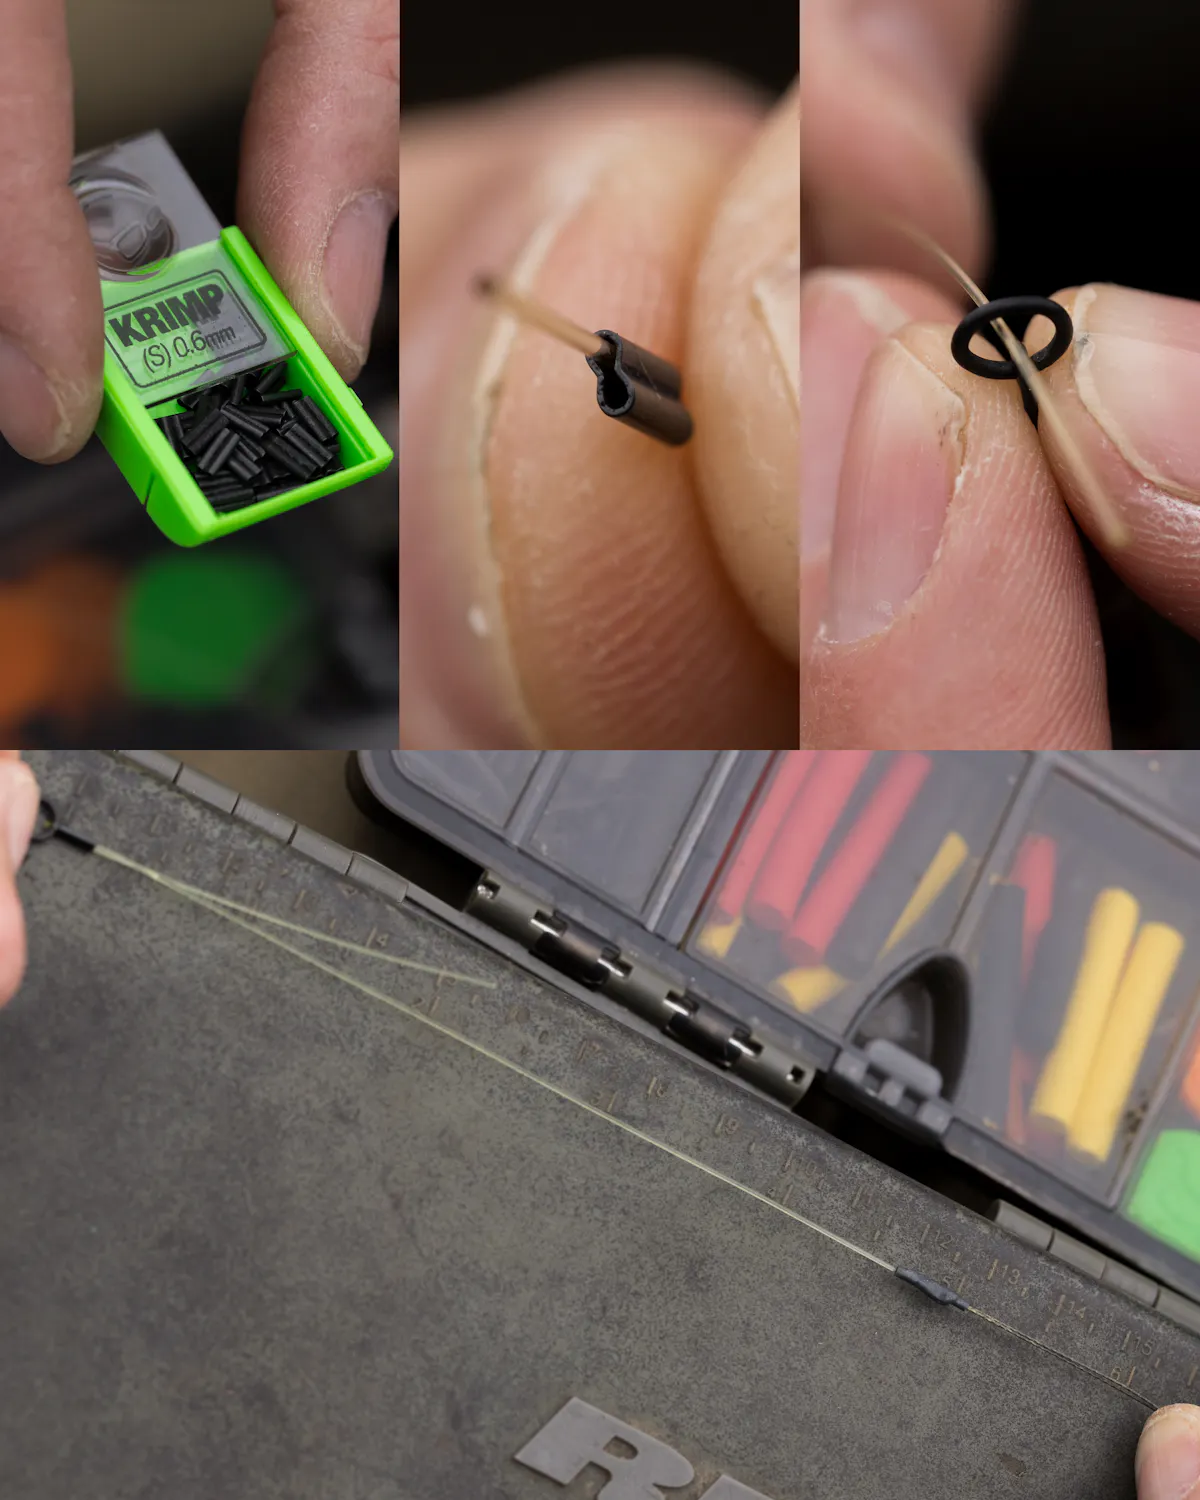
Crimp a ring swivel or Hybrid Lead Clip to the other end of the boom, and test your knot and crimping
Cut the Boom off of the spool, leaving enough so that you can crimp a 5in. long boom section. Pass the end of it through the barrel of a 0.6mm Krimp, then through a ring swivel or Hybrid Lead Clip or just form a small loop to use with a quick change swivel, and thread the tag end back through the other barrel of the Krimp. Take a Korda Krimp Tool and use it to firmly crush the Krimp until it is secure. Trim the tag end of Boom to leave 3-4mm protruding from the Krimp. Use two Pulla Tools – one in the braid loop and the other in the ring swivel or loop you have formed and give it a good pull, this will straighten the rig and also test your crimping, if it is going to slip, it will do under this pressure.
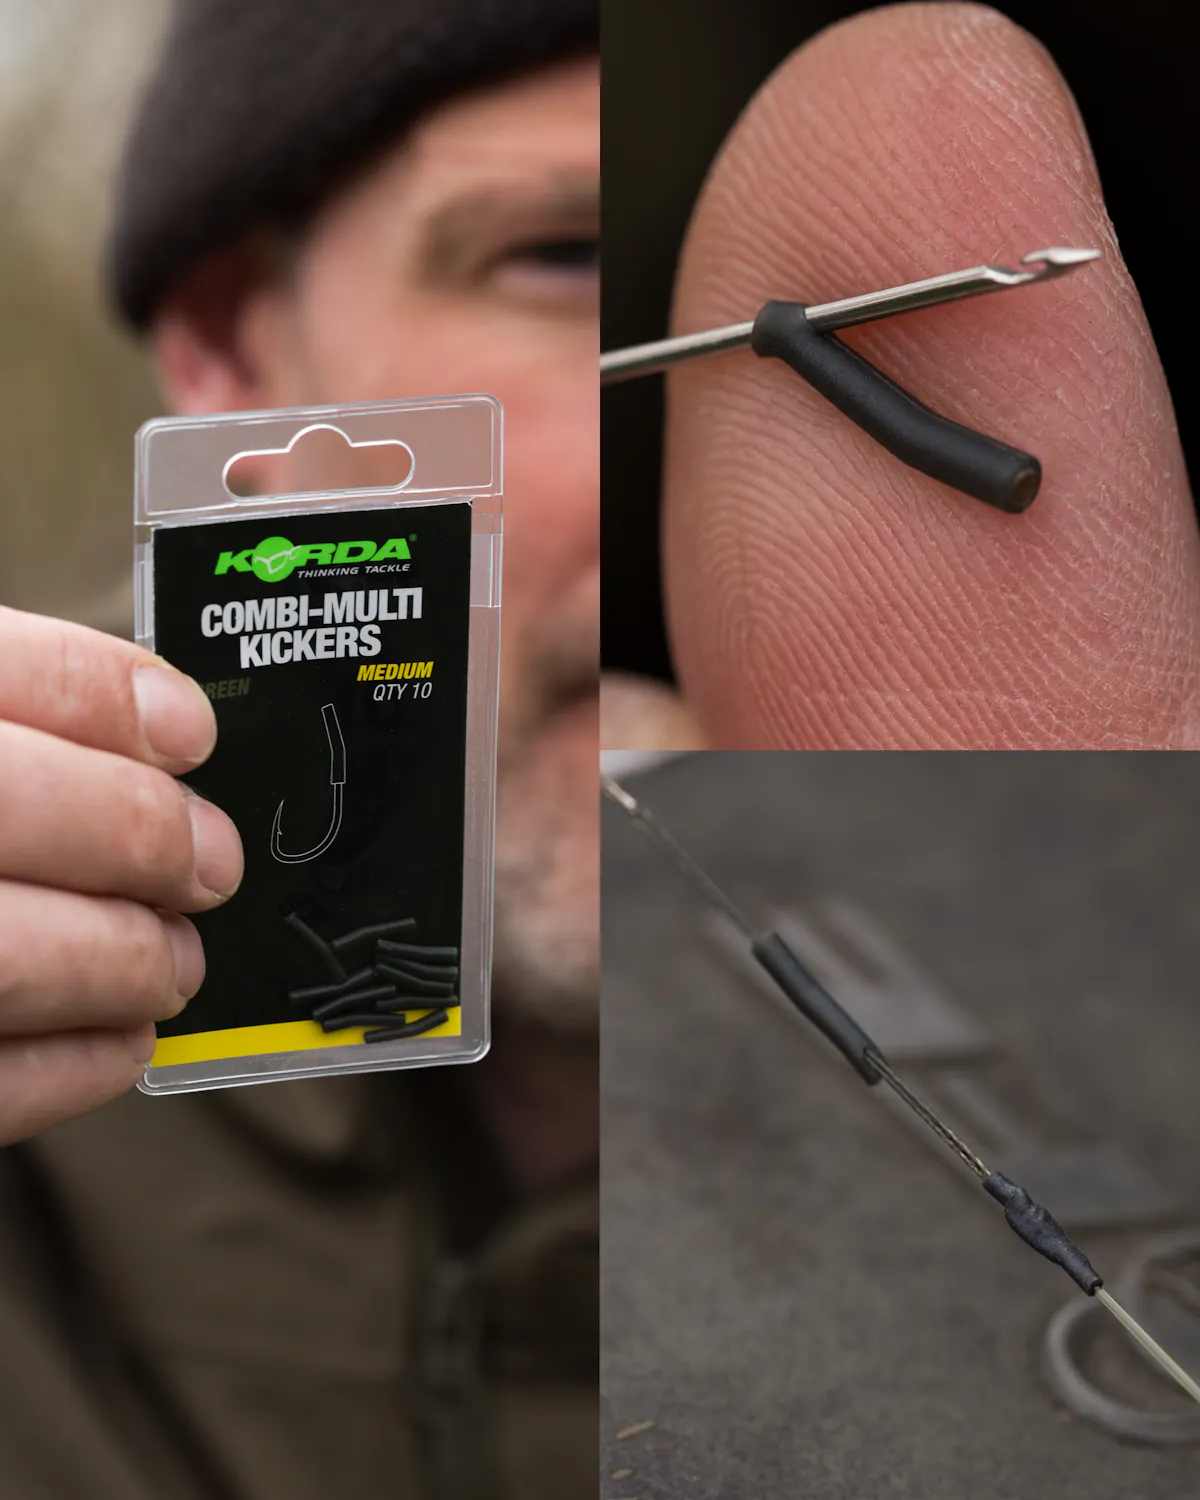
Add a Combi Multi Kicker to the braided loop, line aligner style
Take a Combi Multi Kicker (a size that is suitable for your hook size) and use a Korda Braided Hair Needle to go through the side of the rubber, from the inside out, 5mm or so from the thinnest end of the Kicker. This will allow you to fish it line aligner style. Remove the needle. Take a Splicing Needle and push it up the inside of the Kicker, from the fat end and then go out through the hole you created in the side of it (rather than the other end of the Kicker). Thread the Kicker onto the braided loop at the end of your hook link.
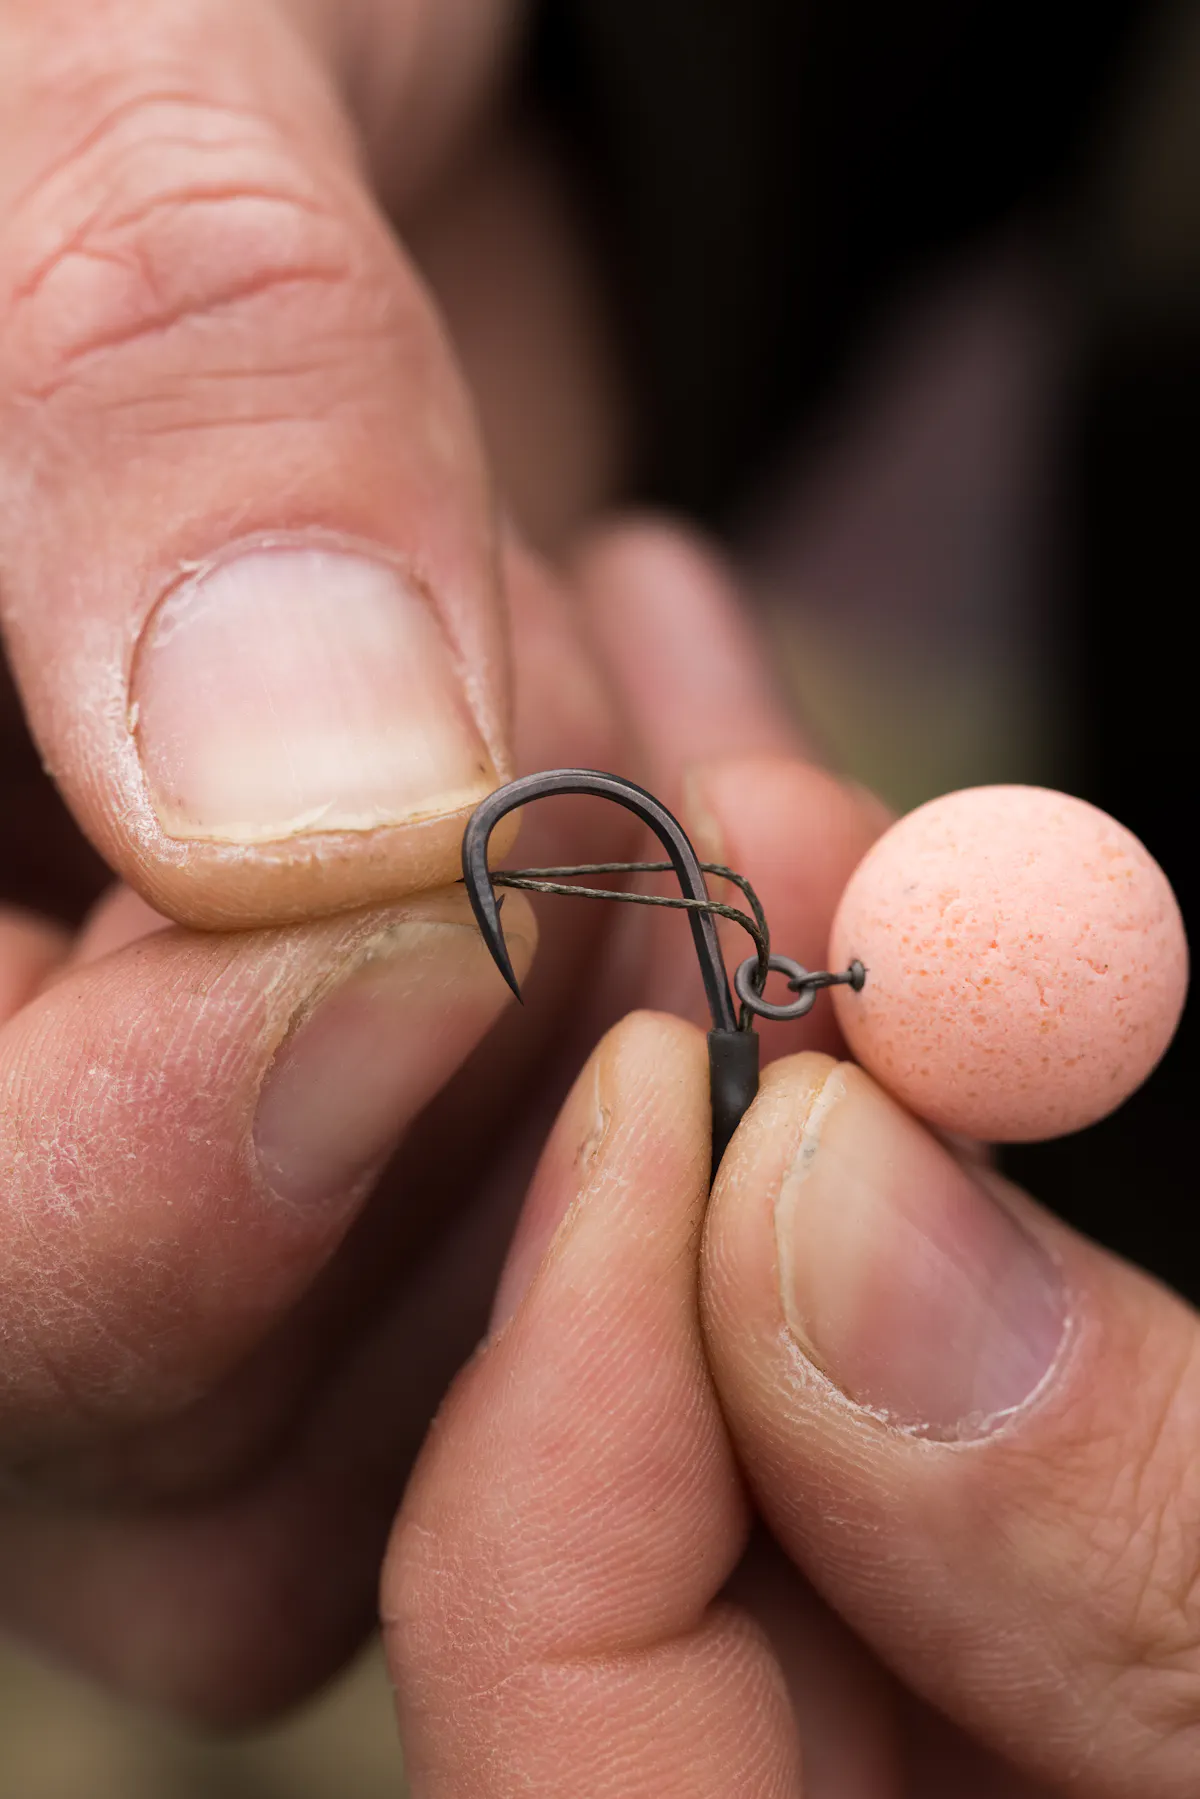
Attach your hook multi rig style, secured by a Kicker
Take your chosen hook (such as a size 6 Wide Gape X) and pass the end of the braid loop through the eye from front to back. The push the Kicker over the eye of the hook. Now pull the braided loop through the Kicker, until the piece of silicone on your joining knot is buffered up against it – this will give you a big enough loop to finish attaching your hook multi rig style.
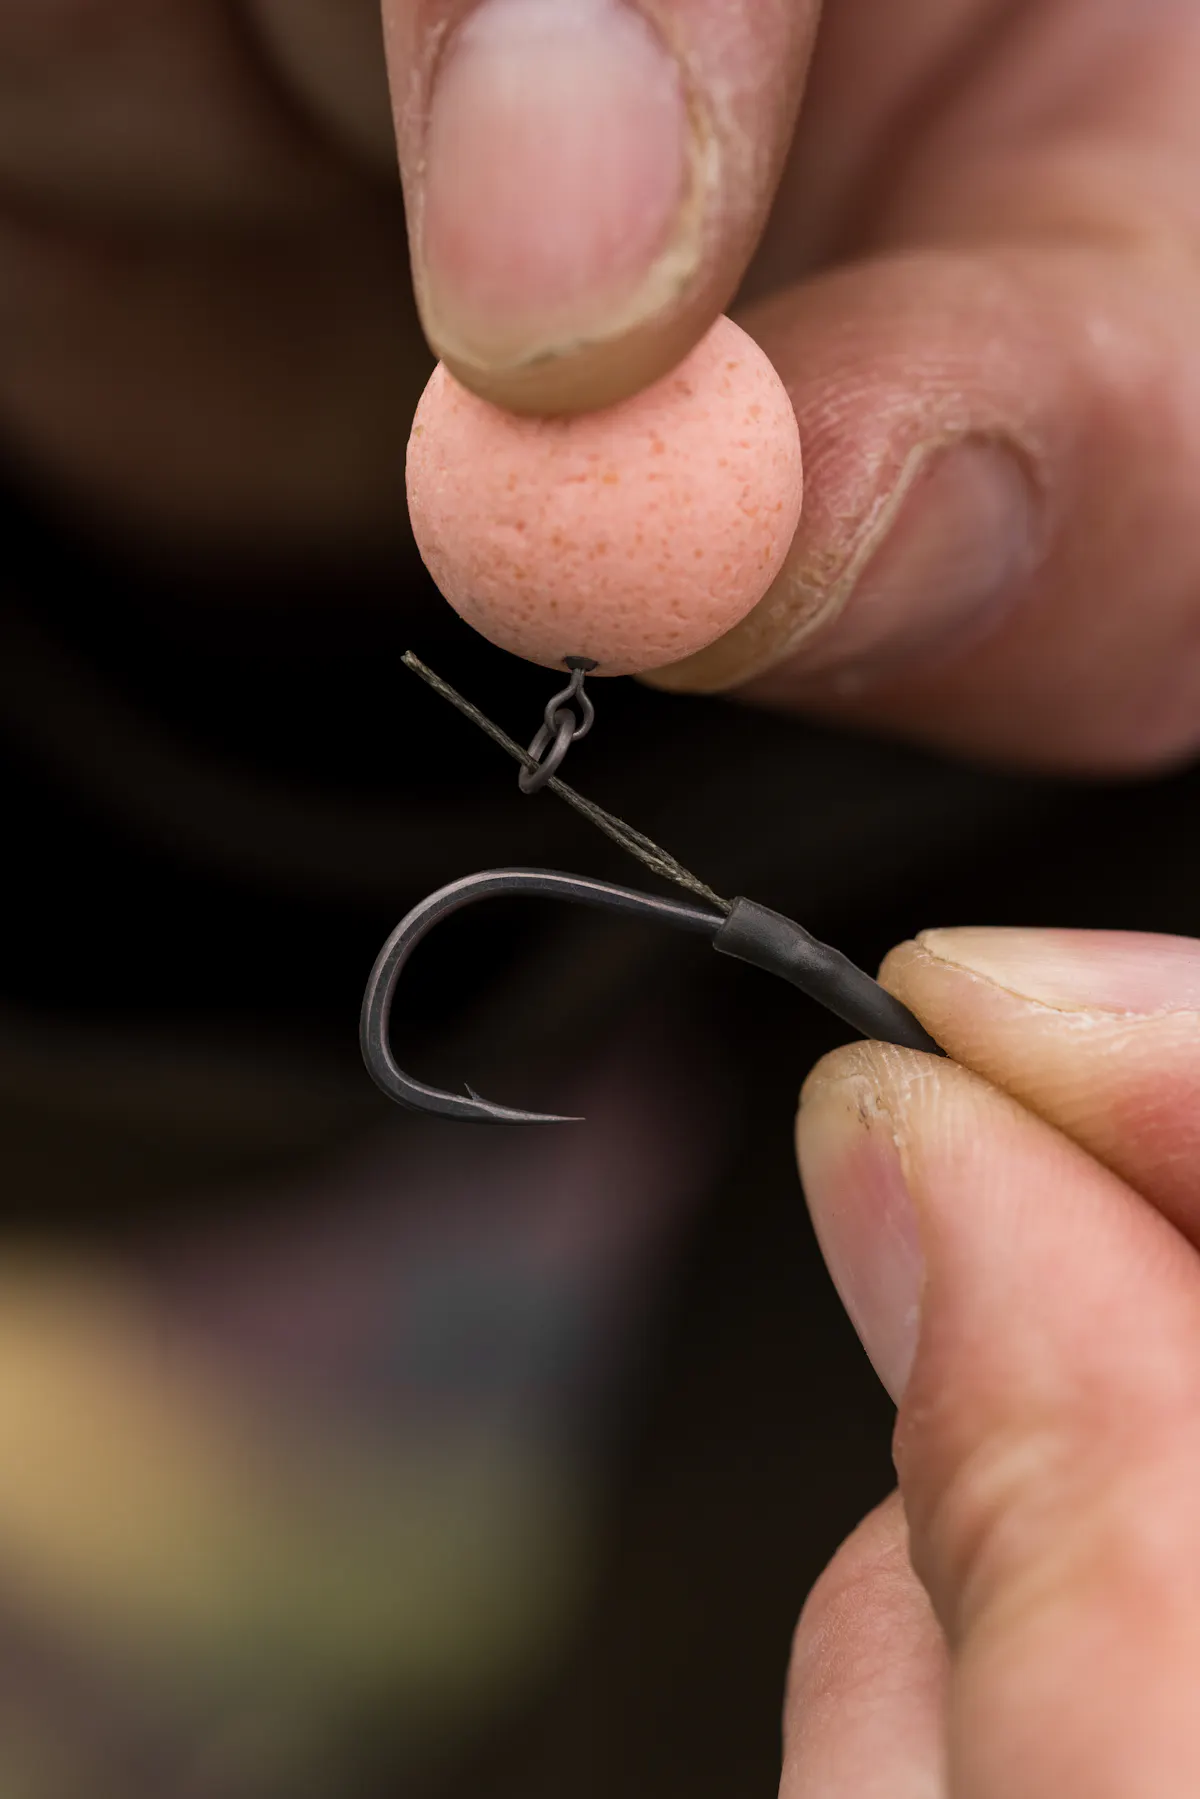
Add a micro ring swivel or Bait Screw so you can attach your hook bait
Choose either a micro ring swivel or a Bait Screw – these can be tied up in advance attached to your hookbaits (it works best with a balanced bait), via Bait Floss and blobbing the end with a lighter (a Floss Cap can also be used), so you can attach the whole thing to the rig in one quick and easy step. Thread the micro ring swivel onto the end of you loop, before passing the braid loop over the point of your hook, multi rig style.
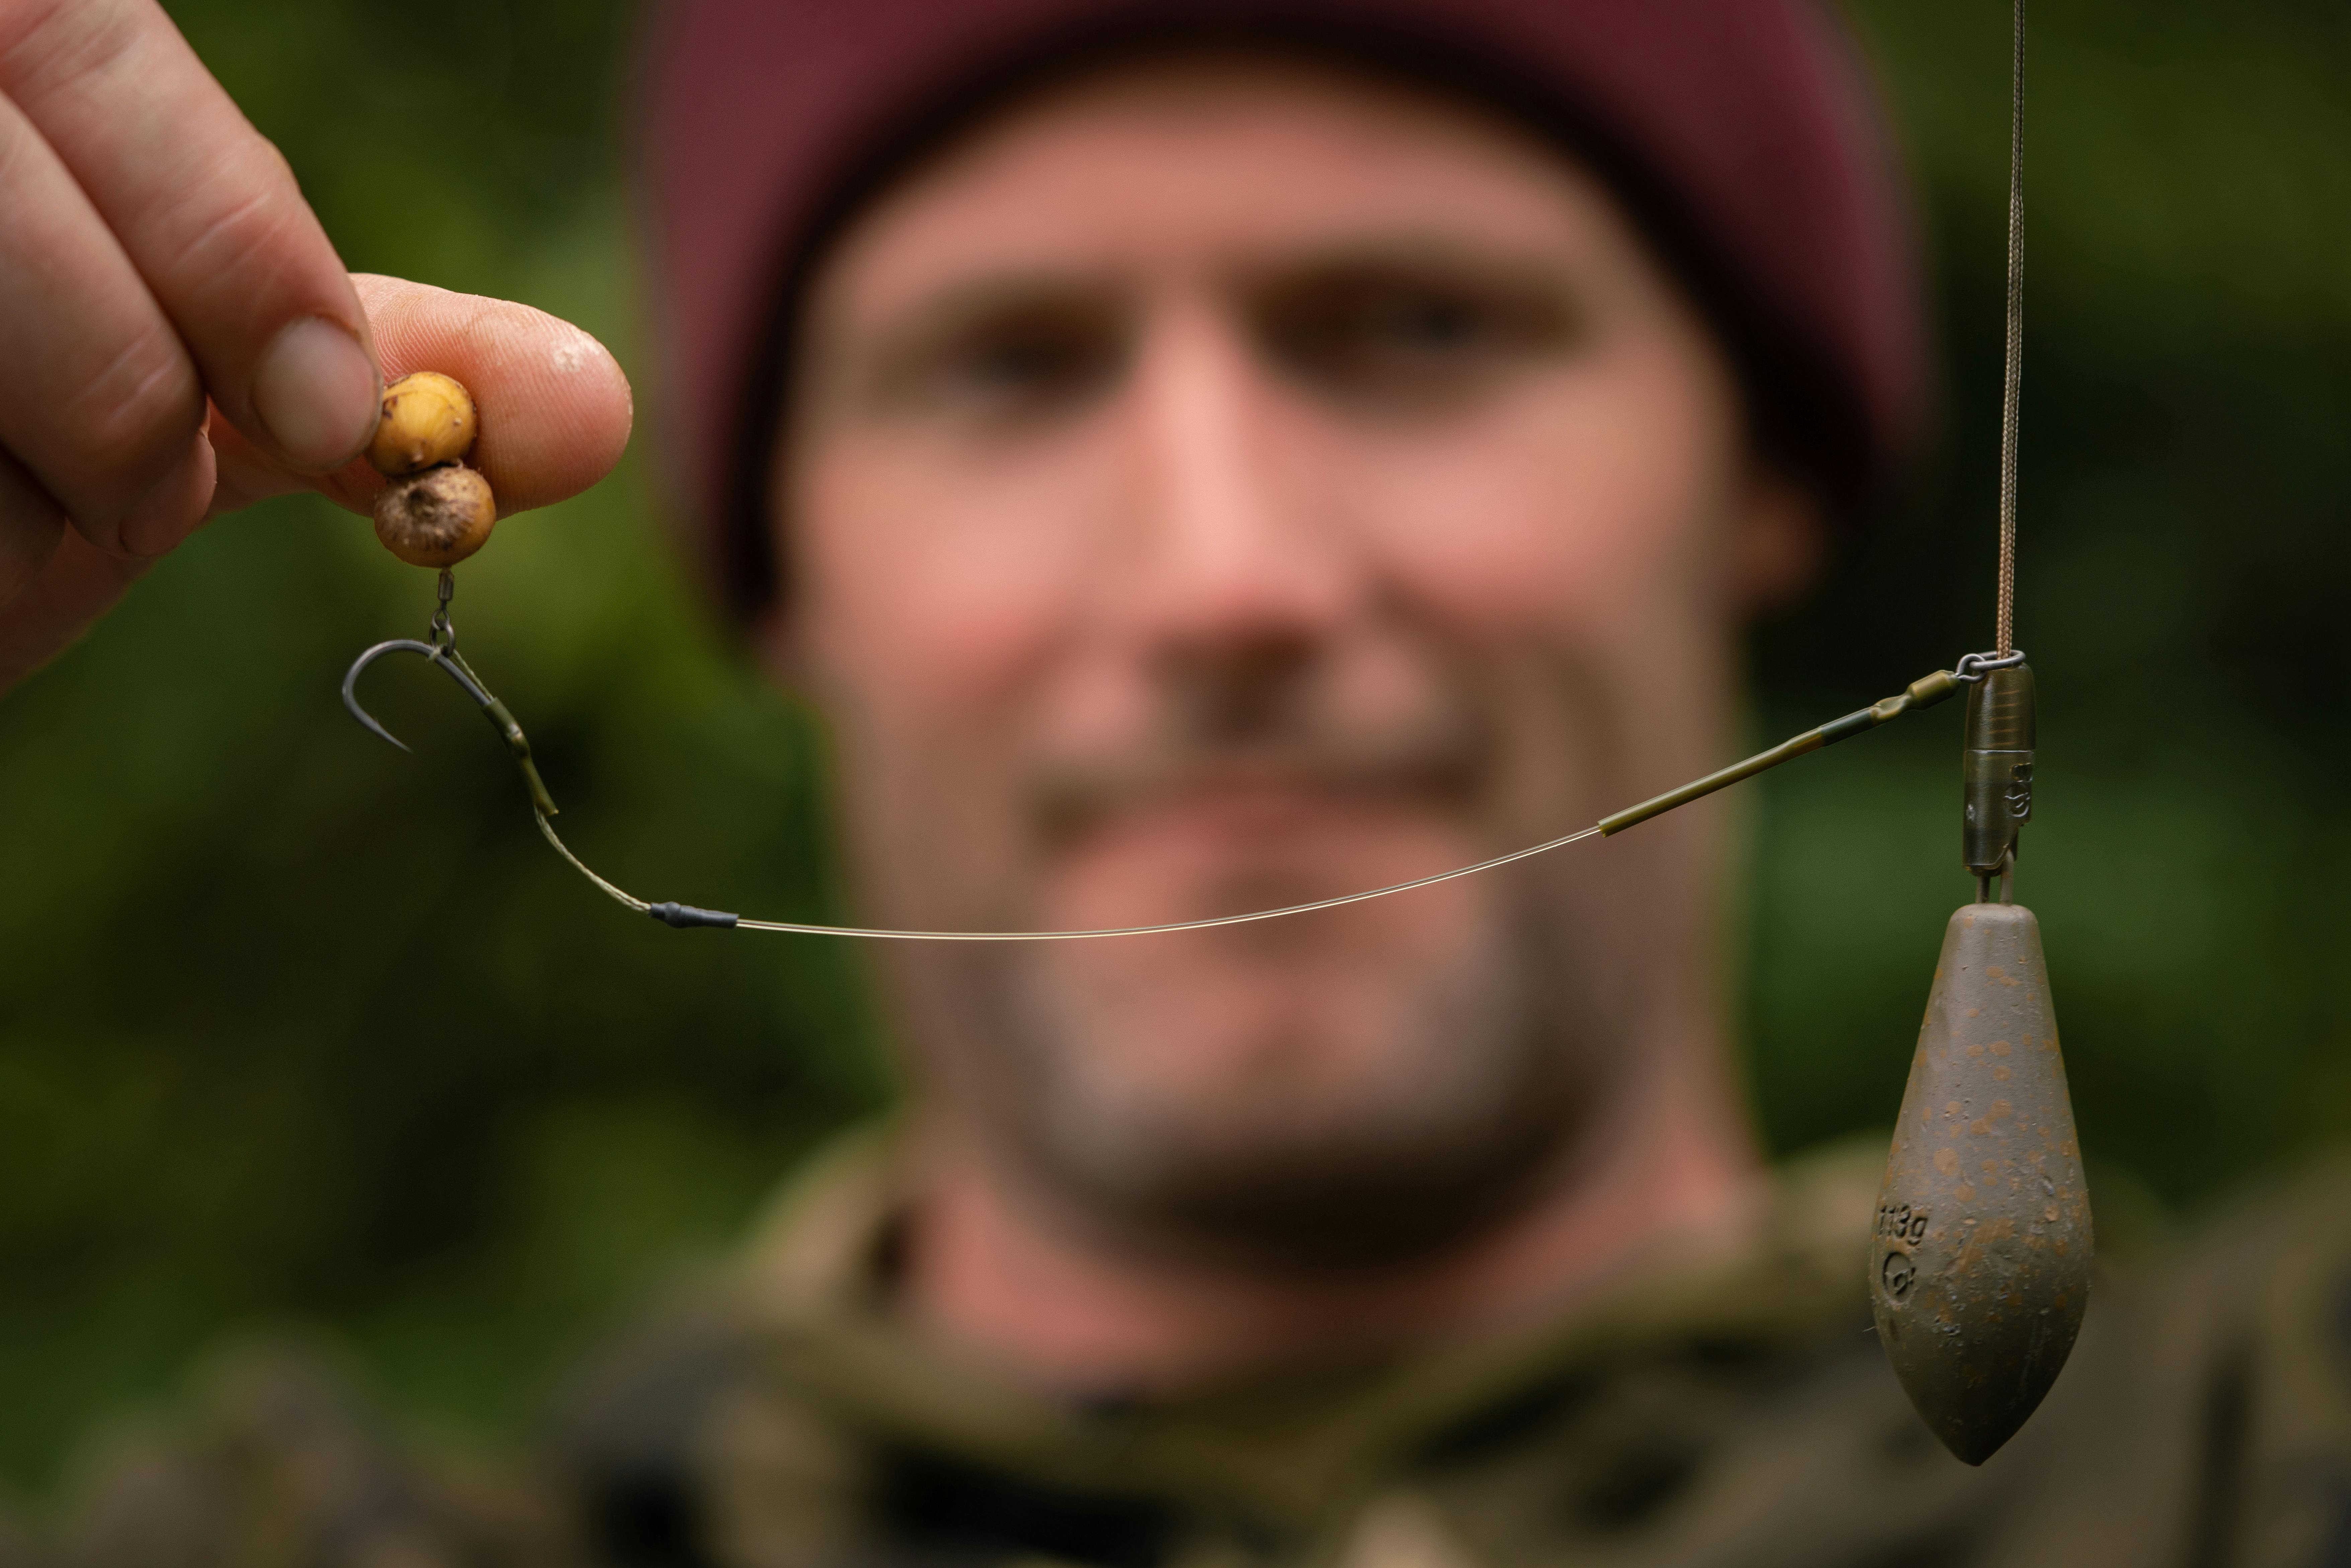
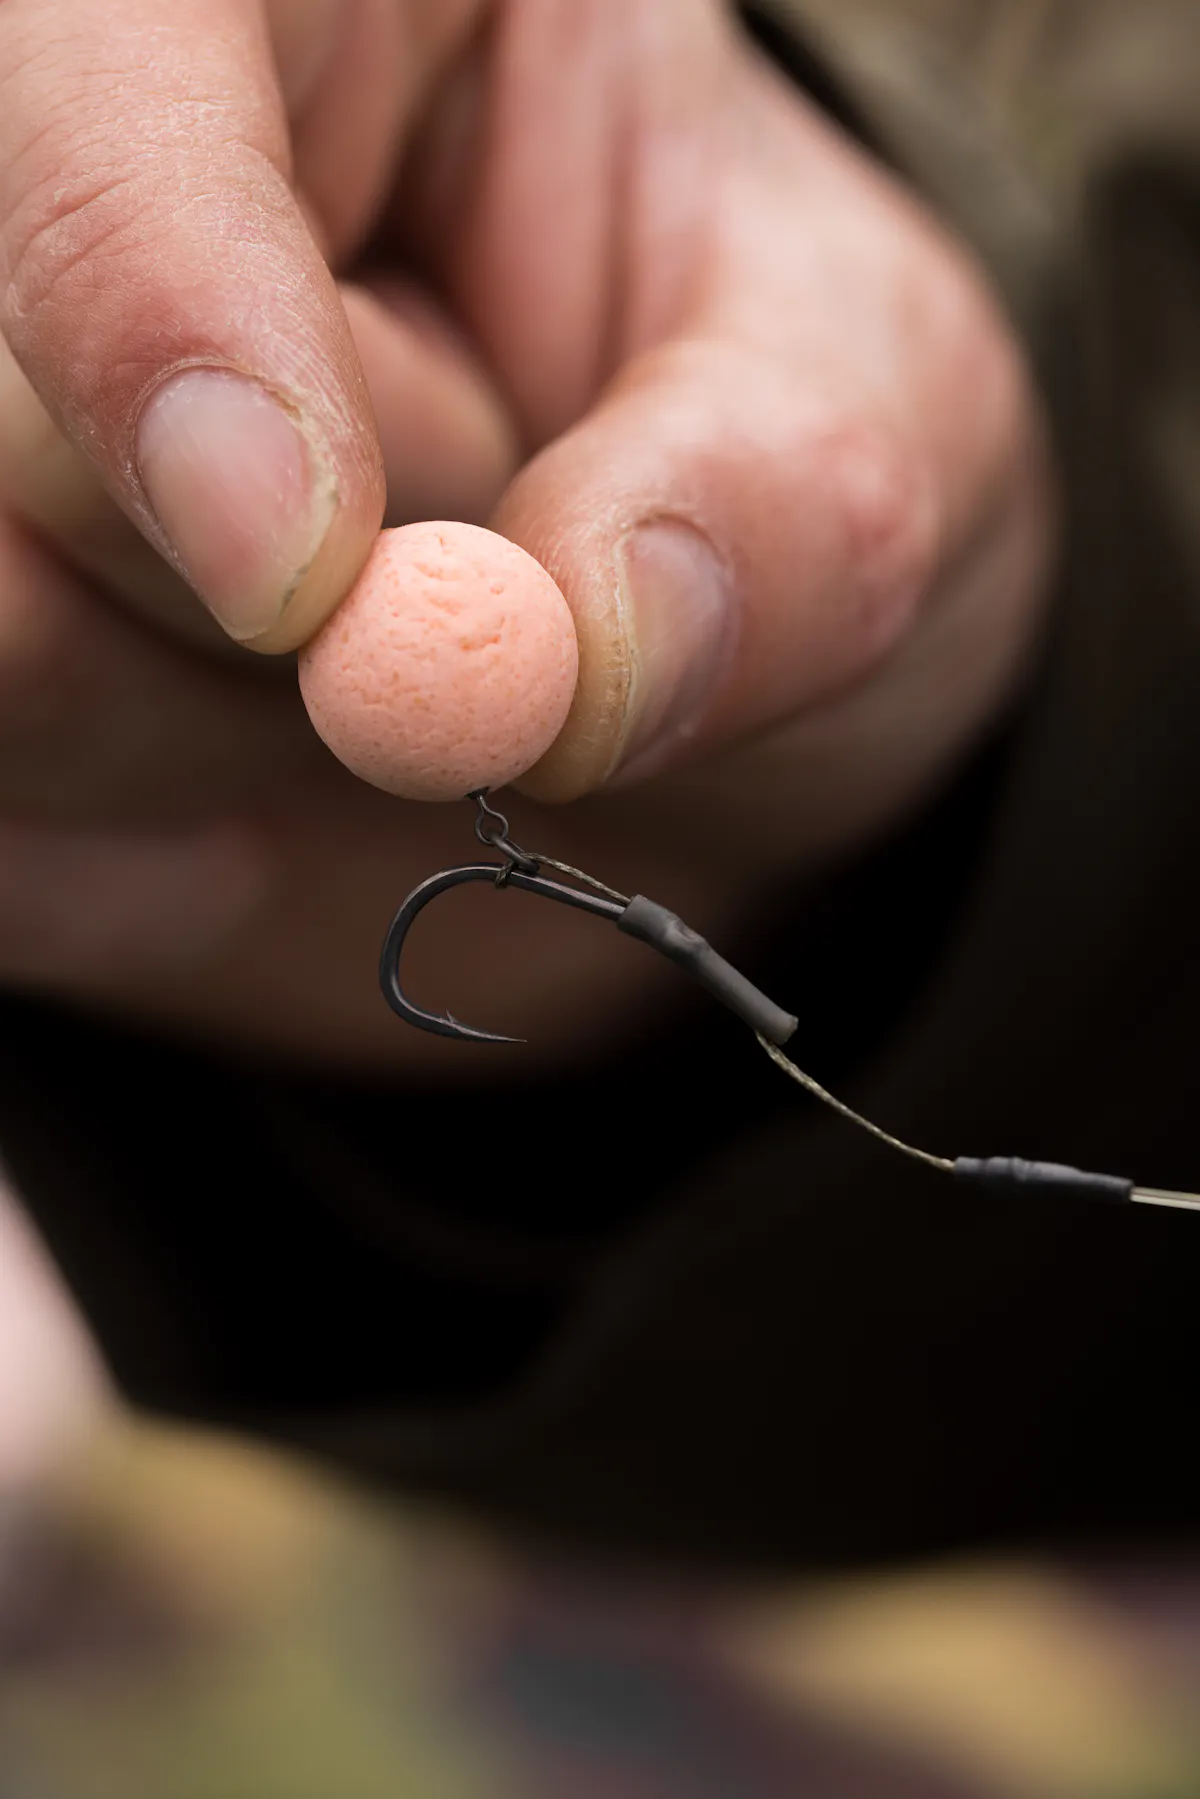
Position the hook bait in the optimal position for the rig mechanics to wrk, attach the finished rig to your lead system
Pull the hook link from the other end to adjust the positioning of the braided loop on your hook, so that the end of the loop is opposite the barb. The Kicker is tight enough (as long as you select the right size for your hook) that the loop can’t slip at all during casting. All you need you need to do now is attach your hook link to whatever lead system you are using (or if you’ve crimped on a Hybrid Lead Clip, simply tie that to the end of your main line or leader) - you can add an anti-tangle sleeve if using a QC clip. To change the hook, simply reverse steps 6 and 5, and then repeat them again with the new hook – you can change your hook very quickly.

How To Tie The Chod Rig
Learn how to tie a Chod Rig, perfect, everytime!
How To Tie The Maggot Clip Rig
Rob Burgess shows how to tie a simple, yet effective rig for presenting maggots
How To Tie The BASIX Hair Rig
Here is an easy to follow guide on how to tie a Basix Hair Rig

How To Tie The Solid PVA Bag (Flat Bed Style)
Korda Koach Rob Burgess show's you how to tie his Solid PVA Bag in his unique Flat Bed

How To Tie A Combi Rig With Loops And Booms
Constructing a Combi Rig has never been easier!
How To Tie Spinner Rig
Tom Dove explains how he likes to tie the famous Spinner Rig
How To Use Adjustable Zigs
Dovey talks you through how easy adjustable zigs are to set up and exactly how to use
How To Use Distance Sticks
Distance Sticks are a key product in helping you fish spots accurately every time!
How To Set Up A Heli-Safe Tubing Kit
How to set up a Heli-Safe Tubing Kit
How To Tie The Slip D Rig
How to tie a simple, yet effective Slip D Rig
Danny Fairbrass on using the Multi Rig
Despite being a self-confessed ‘rig man’ DANNY FAIRBRASS took a while to try the multi

A Guide to the Withy Pool Rig
The Withy Pool Rig, Elliott Gray explains.
Ultimate Guide to Braid Line Fishing
Elliott talks braid and why he loves it.
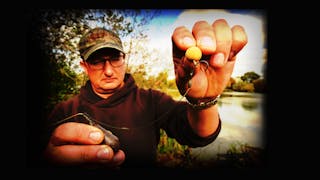
Jamie Londers - Goo Tips
Carp catching machine Jamie Londors talks the importance of Goo in his angling.
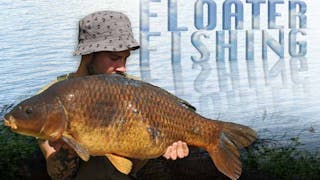
Elliott Gray - Floater Fishing
Elliott discusses one of the most exciting ways to catch them.
Elliot Gray - Particle Fishing
Particle fishing with Elliott Gray.
Scott Sweetman - Fishing In The Silt
Scott talks how and why he likes to fish in the silt.

Luke Vallory - My Three Rigs
Luke explains what his go to set up is for bottom baits, wafters and pop-ups.
Scott Sweetman - The IQ2 D Rig
Scott discusses his favourite rig, the IQ2 D Rig.
Tom Stokes - Fishing in Weed
Tom Stokes explains how to fish in and around the weed.

Darrell Peck - The Black Mirror
Peck recounts his campaign for one of Europe's best, 'The Black Mirror'.
Scott Sweetman - Two A-Teamers In One Net
Scott Sweetman Tells The Story Of A Night He Will Never Forget

Marc Cavaciuti - Spring Tactics
Can discusses spring tactics in depth.

Barry Delderfield - The Campaign
Barry reflects on an incredible campaign on 'The Nunnery'
Dave Finn - A 35 Year Flame
A nostalgic reflection on Finny's 35 years in carp fishing.

Elliott Gray - Fishing in the Edge
Elliott discusses his favourite way to catch them, in the edge.
Elliott Gray - The Autumn Campaign
A campaign Elliott will never forget, ending in a huge UK common.
James Salmons - The Spring Campaign
The story of an epic spring campaign, ending with a huge UK common!

Luke Vallory - Autumn on Dinton Pastures
Luke reflects on a prolific autumn on the tricky Dinton Pastures.
Oscar Thornton - Winter Mindset
Oscar reveals his biggest winter edges that makes his winter fishing so prolific.
Black Singlez: Rod Support System - Product Focus
Introducing Tom Dove's Brainchild, the super-light Black Singlez rod support system!

Kamakura: Precision Sharpened Hooks - Product Focus
We believe a sharp hook to be the single most important part of your tackle.

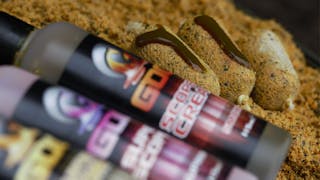
Kiana Carp Goo: Scopex and Buttercorn - Product Focus
Here's what you need to know about Scopex Cream, Super Scopex and Buttercorn Goo
TackleSafe: Terminal Tackle and Rig Storage - Product Focus
The ultimate storage product for your essential items of terminal tackle.

Black & Whites - Bite indicators (Bobbins)
Here’s a look at the latest Black & White bobbins.

CarpLine: Monofilament Fishing Main Line - Product Focus
We reveal why Carp Line has won so many fans in the carp world.
ChodSafe: Chod Rig Storage - Product Focus
The ChodSafe is the mother of the RigSafe family.

Singlez: Rod Support System - Product Focus
Everything you need to know about Singlez.
Drykore - Waterproof Clothing Range
The DRYKORE range is breathable, lightweight, and constructed from industry-leading 15K

Kiana Carp Goo: Jungle Juice, Moonshine and Bubblegum - Product Focus
Here's what you need to know about Jungle Juice, Moonshine and Bubblegum Goo